 Because the lift cords that run along the back of roman shades pose a potential chocking hazard to small children, the WCMA/WCSC and CPSC have come up with a temporary solution. This may not work for everyone as it removes the lift cords in the shades. The roman shades must then be raised manually without a cord and then a metal clip inserted to keep them raised.
Instructions
Step 1:
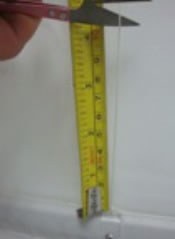
Remove lift cord from the roman shades- Cut the operating cords from the ring or eyelet at the bottom rear side of the window shades. Keep about 4-5 inches of cord at the bottom of the shades.
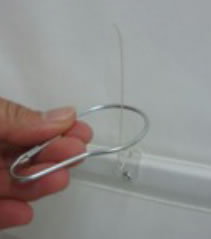
- Tie the metal clips to the remaining lift cord. This will be used later to hold the shades in place.
Step 2:
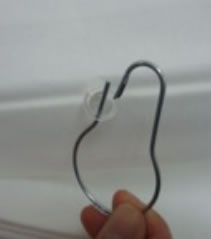
Operating the Retro-fitted Roman Shades- Attach the metal clips from the kit to the upper rings on the rear side of the shade by opening the clip.
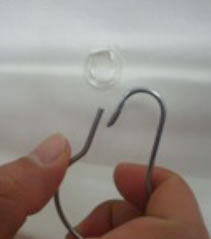
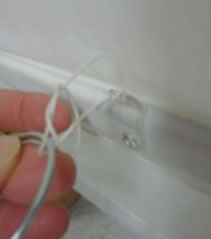
- Starting at the bottom of the roman shade, slide the metal clip through each ring working your way up the shades on both sides of the shade.
- Continue to insert the metal clips through the smaller rings on the back of the shade as you raise the shade.
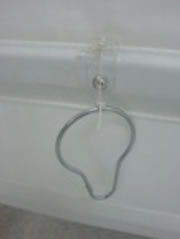
- When you reach the desired height, close the larger metal clips.
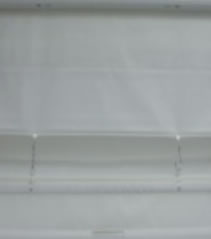
- To lower the shade, simply reverse these directions. When the shade is fully lowered, the metal clips can be attached to the lowest ring of the shades and closed.
Special Note:
If you are unsure of how this retrofit work and would like to test raising and lower the shades you may test the operation BEFORE cutting the lift cords. Simply follow step 2 and operate the shades by raising them without use of the cord and insert the metal clip provided through each loop on the back of the roman shades. We recommend to test in this manner before cutting the cords to ensure you will be happy with the operation of the retro-fitted roman shades.


