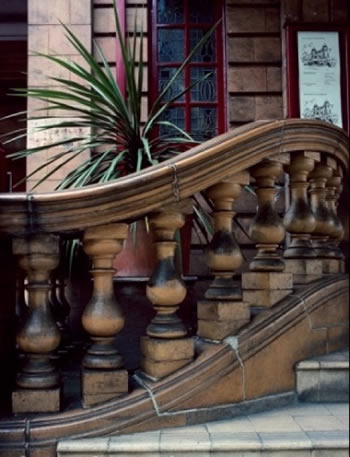
Broken Balusters And The Easy Way To Repair Them
May 4 2012
A loose or broken baluster is not only unaesthetic but it could also turn out to be dangerous. It is relatively easy to make repairs in case you understand the way the pieces are secured. In the majority of the cases the bottom is cut in a fan shape and interlocked to the edge of the thread prior to the appliance of the noosing.
Remove the baluster
In order to remove the baluster you need to pry off the nosing and the molding. Then tap the baluster out with a block of wood. To loosen the top you need to drive the upper portion upwards using a hammer and a wood block.
Simply remove the damaged baluster and disconnect it from the top. Then just pull up in order to loosen the lower portion.
Using the glue
Remove the baluster the way described before and then with the help of padded clamps put the pieces together to see whether they fit.
 In case there is only a crack in the baluster, you could be using a glue injector. On the other hand if it is completely broken, you should be using wood glue.
 Use the padded clamp again after applying the glue to make sure that the break is tightly closed. Most probably there will be some excess glue, and this can be removed with the help of a damp cloth. You should let the glue dry during the night and the next day make the necessary touch ups. In the end just put the baluster back in place.
Installing the repaired or replaced baluster
It is possible that you will need to drill two holes in the top of the baluster. Make sure that these are slightly angled towards each other. This way you can be sure that you won’t hit the adjacent baluster.
Once you are done you should make a test fit. If everything fits tightly, then you can apply the glue at the bottom of the baluster, right into the thread. If there isn’t a fit joint, you should opt for panel adhesive to fill the gaps, and not glue.
To have the baluster secured you should put finishing nails into the holes that you have just made in order to make sure that the upper portion of the baluster won’t be moving.
As a finishing touch you should fill the holes made with putty or caulk in case you are going to paint the baluster or with wax filler in case you will add a clear finish as the finishing touch.
A loose baluster
In case the baluster isn’t fit at the bottom anymore then you should remove it and then reinstall it with the help of construction adhesive at the joint.
There is another option as well that you have, but this one is less secure. In this case you should drill two pilot holes at the bottom and put two nails through the baluster all the way into the thread.
As you can see the process itself is not rocket science, however you should have some woodwork skills to get the thing done properly.
Author Bio: Liza is an avid blogger and freelance writer. She loves writing on Home Interiors - Home furnishing, Interior Decoration, to be more specific. Don’t forget to check out her home interiors articles on homeinteriorszone.com, where she writes on topics relating to Home Accessories, Home Garden, Home Exteriors, How tos, among others.
Bookmark/Share this page:
 |
Post a Comment


