Lexi Westingate | Blinds Chalet Design Team


Updated: Oct 22 2024
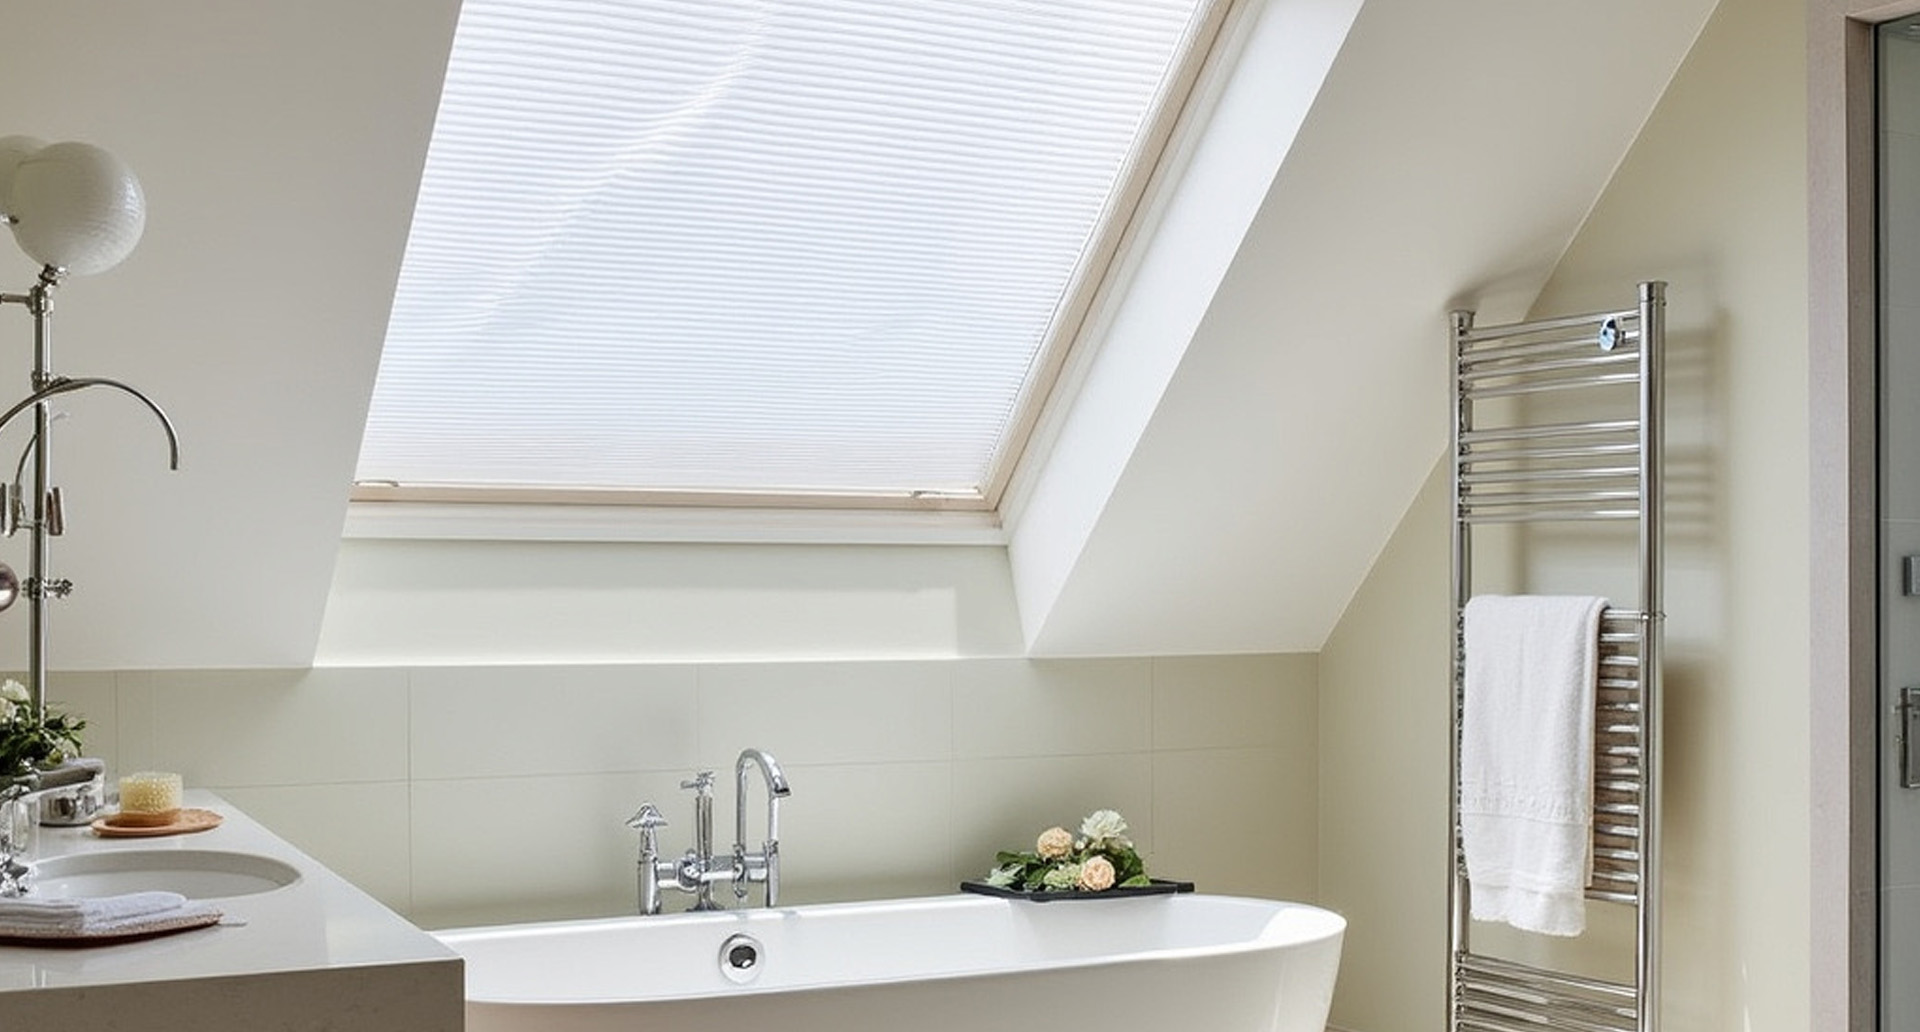
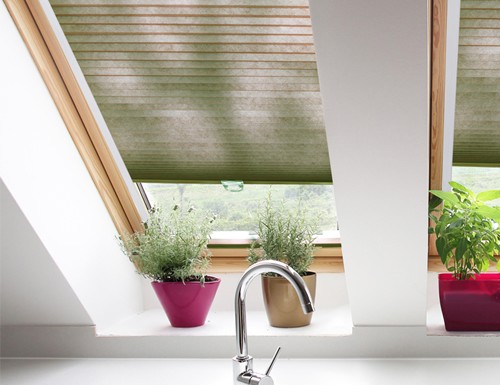
Installing skylight shades can improve your home’s comfort by providing better light control, insulation, and privacy. However, the unique nature of skylight windows can make the installation process a bit more challenging. This guide will walk you through everything you need to know about installing skylight shades, from preparation and measuring to mounting and adjusting your shades for a secure and functional fit.
1. Preparation: Tools and Materials You’ll Need
Before you start, make sure you have everything you need for a smooth installation. Being prepared will save time and help avoid complications.
1.1 Tools Required:
- Measuring tape
- Pencil
- Ladder or step stool (for higher skylights)
- Drill with appropriate bits
- Screwdriver
- Level
- Screws and wall anchors (if needed)
- Mounting brackets (included with your shades)
- Skylight shades and hardware (included in your purchase)
1.2 Check Your Package:
Ensure your skylight shade package includes the following:
- Skylight shade(s)
- Mounting brackets
- Screws and wall anchors
- Installation instructions
2. Measuring for Skylight Shades: Get the Perfect Fit
Accurate measurements are essential for a smooth installation and proper fit. The way you measure will depend on whether you're opting for an inside or outside mount.
2.1 Inside Mount Measurement?
For an inside mount, the shades are installed within the skylight frame for a clean, streamlined appearance.
- Width: Measure the width of the skylight at the top, middle, and bottom. Use the narrowest measurement to ensure a snug fit.
- Height: Measure the height at the left, center, and right. Use the longest measurement to cover the entire window.
- Depth: Measure the depth of the skylight frame to ensure it’s deep enough for the mounting brackets.
2.2 Outside Mount Measurement?
For an outside mount, the shades will cover the entire skylight window, often overlapping the frame.
- Width: Measure the total width of the area you want to cover, adding 2–3 inches on each side for better light control.
- Height: Measure from the top of the skylight frame to your desired length, typically extending a few inches below the window.
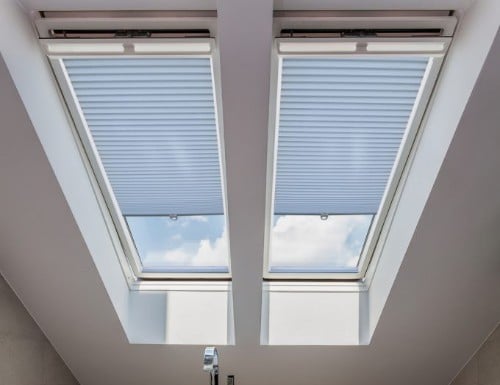
3. Installing the Mounting Brackets: The Foundation of a Secure Fit
Properly installed mounting brackets are essential for smooth operation and the longevity of your skylight shades.
3.1 Inside Mount Installation
- Position the Brackets: Hold the brackets inside the skylight frame, ensuring they are evenly spaced and level.
- Mark the Holes: Use a pencil to mark where the screws will go.
- Pre-Drill Holes: Drill pilot holes at the marked spots to prevent wood from splitting.
- Attach the Brackets: Secure the brackets with screws, checking that they are level before fully tightening.
3.2 Outside Mount Installation
- Position the Brackets: Hold the brackets outside the skylight frame on the wall or ceiling, making sure they’re centered and level.
- Mark the Holes: Mark the screw locations, ensuring even spacing.
- Pre-Drill Holes & Insert Anchors: For drywall, insert wall anchors before attaching the brackets.
- Attach the Brackets: Secure the brackets with screws, using a level to ensure perfect alignment.
4. Installing the Skylight Shades: Achieving a Secure Fit
Once the brackets are installed, attaching the shades is the next step.
4.1 Attaching the Headrail
- Align the Headrail: Hold the headrail near the brackets and position it so the top edge fits into the bracket grooves.
- Snap It in Place: Tilt the headrail up and snap it into the brackets until it clicks securely. Ensure the headrail is level.
- Test the Fit: Raise and lower the shades to check for smooth operation.
4.2 Adding Side Channels (Optional)
- Position the Channels: If your shades include side channels, align them along the skylight frame.
- Mark and Attach: Mark the screw locations and attach the side channels using screws or adhesive tape as directed.
- Insert the Shade Fabric: Slide the shade fabric into the channels for a snug fit, which helps block light gaps.
5. Final Adjustments and Troubleshooting
After installation, it’s important to test the shades and make any necessary adjustments to ensure smooth operation.
5.1 Testing the Shades
- Raise and Lower the Shades: Ensure smooth operation. If there’s any resistance, check the alignment of the brackets and headrail.
- Adjust Cord Tension (for Manual Shades): If needed, adjust the cord tension so the shades move easily and stay in place.
5.2 Dealing with Light Gaps
- Install Side Channels: If there are gaps along the sides, installing side channels can help improve coverage.
- Use Light-Blocking Strips: For outside mount installations, you can add light-blocking strips to cover any gaps between the shade and the wall.
5.3 Motorized Shade Adjustments
- Check Power Source: Ensure motorized shades are properly connected to the power source, whether battery or outlet.
- Program Remote Controls: Follow the manufacturer’s instructions to set up the remote and test it to ensure the shades respond smoothly.
Conclusion: A Successful Skylight Shade Installation
Installing skylight shades doesn’t have to be complicated if you follow the right steps and take accurate measurements. By ensuring the brackets are secure, the shades are properly aligned, and making any necessary adjustments, you can achieve a professional-looking installation that enhances both the functionality and appearance of your home. Whether manual or motorized, these tips will help you install your skylight shades with confidence.
For more skylight shade options and expert advice, visit Blindschalet.com to get the support you need.