

Say Goodbye to Screws, Holes, and Tools
At Blind Chalet, we make installing custom window blinds simpler than ever with our No-Drill Installation option. Whether you're renting, avoiding wall damage, or just want a faster installation, our no-drill system is the perfect solution.
What is No-Drill Installation?
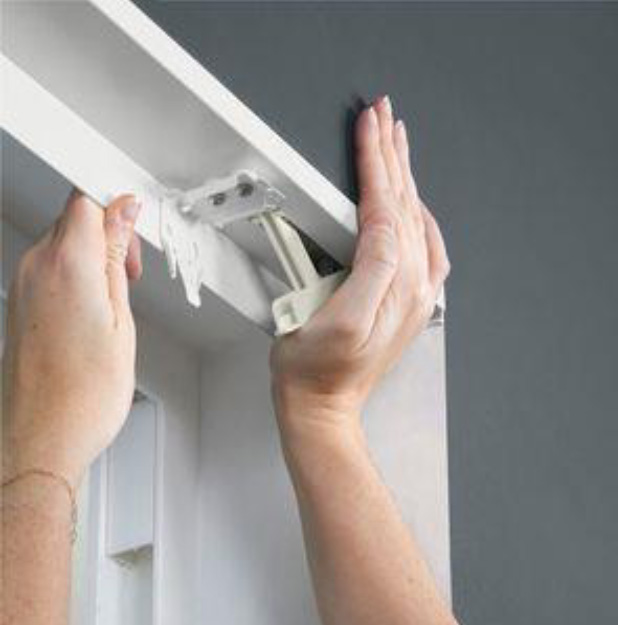
Our No-Drill blinds feature a specially designed mounting system that lets you securely install blinds without using any tools, screws, or drilling into your window frame or walls. The blinds stay firmly in place using tension-fit technology.
Benefits of No-Drill Blinds:
- No tools required – Install custom blinds in minutes without a toolbox
- No wall damage – Perfect for apartments and rental homes
- Clean, seamless look – No visible screws or holes
- Removable & repositionable – Move or take them down without a trace
- Fast DIY install – Anyone can do it, no handyman needed
Who Are No-Drill Blinds For?
- Renters who want to avoid losing a deposit
- Homeowners who want a clean, damage-free installation
- DIYers who want a simple, fast window treatment solution
- Anyone who wants a sleek, modern look without the hassle
Which Products Work Best?
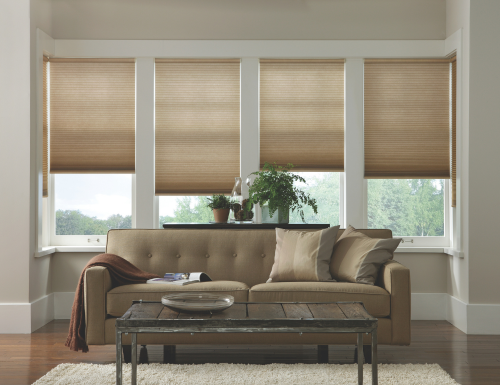
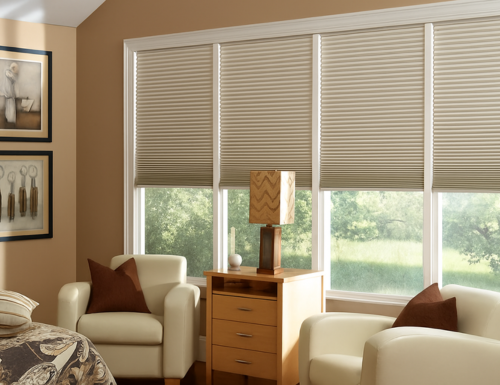
- Honeycomb / Cellular Shades: Light, insulating, and ideal for tension-fit or adhesive brackets. Explore fabrics and opacities in our honeycomb cell shades.
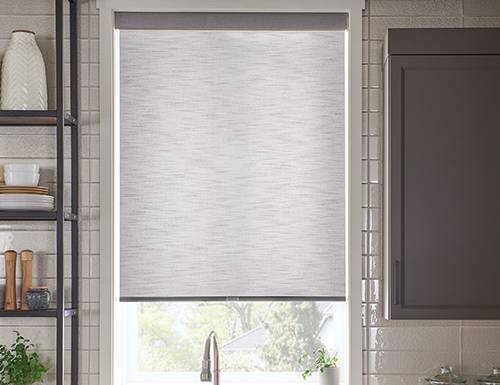
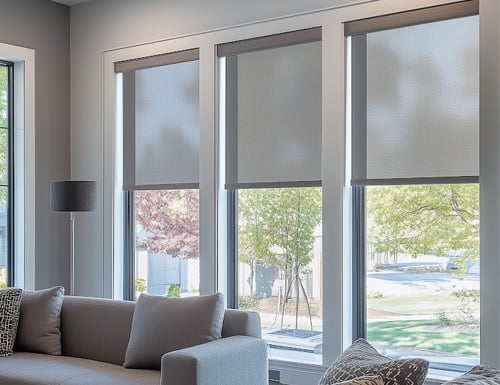
- Roller & Solar Shades: Slim cassettes pair well with adhesive brackets or magnets on metal doors.
- Zebra / Sheer Shades: Modern look with low-profile hardware—adhesive compatibility varies by size/weight.
- Roman Shades: Flat Romans may be compatible with adhesive brackets; check size/weight guidelines.
Why Choose No-Drill?
Renter-friendly: Avoid holes in drywall, masonry, or tile.
Fast install: Typical setups take minutes, not hours. Easy installation without tools.
Clean finish: Sleek hardware with designer fabrics and lifts.
Easy removal: Follow the instructions for residue-minimizing take-down when you move.
Install Basics (3 Easy Steps)
- Prep: Clean the mounting surface with isopropyl alcohol; let it dry. Measure twice.
- Mount: Peel and stick adhesive brackets or set the tension rod or place magnets on the steel surface. Seat the headrail per the instructions.
- Set & Test: Operate the shade fully up/down. For adhesive installs, allow recommended cure time before repeated cycling.
Best Practices
Mind the weight: Respect size/weight limits for each no-drill system.
Surface matters: Adhesives bond best to smooth, sealed, non-porous surfaces (painted wood/metal, tile, glass). Matte chalk paints, raw wood, heavy texture, or dusty brick reduce hold.
Climate counts: High humidity or heat can impact adhesives; follow cure windows and avoidance of load during initial set.
Light control: For darker bedrooms, consider an outside-mount shade with extra overlap or add side treatments to reduce edge glow.
Measuring & Ordering Tips
Measure width in three places and order the narrowest (inside mount); measure height left/center/right and order the longest. For tension-fit, verify the allowed span. For adhesive or magnets, confirm cassette depth clearance around handles and trim.
When to Choose Traditional (Drilled) Mounts
If you need very large/heavy treatments, frequent high-speed operation, or maximum blackout with channels, a traditional screwed mount drill blinds may be the better long-term choice. Ask our team for the best approach by window.
No-Drill Blinds - FAQs
Do no-drill blinds really stay up?
Will adhesive damage paint when removed?
Which shades are best for no-drill installs?
Can I get blackout without drilling?
Are no-drill blinds child-safe and renter-friendly?
How do I know if my door/frame is magnetic?
* Production lead times are only an estimate and does not apply to any colors that are out of stock. Production begins the following business day after ordering. Please allow additional time for shipping.


