Lexi Westingate | Blinds Chalet Design Team


Updated: Jul 8 2026
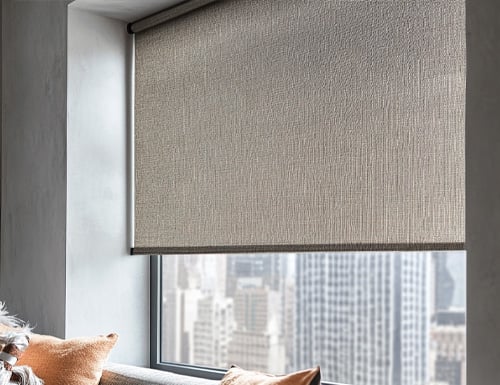
When it comes to installing and maintaining quality roller shades, a little know-how goes a long way. Whether you're considering a DIY installation or just want to keep your shades looking their best, here’s a practical guide to help you along the way.
Explore our complete range of custom window shades designed for style and function.
Installation: DIY or Hire a Professional?
DIY Installation: If you’re comfortable with tools and have some experience, installing roller shades can be a straightforward process. Here’s a quick step-by-step:
- Measure carefully (and double-check your measurements).
- Mark your mounting points.
- Drill pilot holes.
- Secure the brackets.
- Snap in the shade.
When to Hire a Professional: Professional installation is advisable if:
- You have high or difficult-to-reach windows.
- Your windows are an unusual shape or size.
- You’ve invested in high-end or motorized shades.
- You’re not comfortable with DIY projects.
Maintenance: Keeping Your Shades in Great Condition
Once your shades are installed, maintaining them is crucial to ensuring they last. Here’s how to keep them looking their best:
Regular Cleaning: Dust your shades regularly using a feather duster or vacuum attachment. A quick weekly dusting can prevent buildup and keep your shades looking fresh.
Deeper Cleaning: Every few months, give your shades a more thorough cleaning:
- Fabric shades: Use a gentle fabric cleaner or mild soap solution. Blot stains gently rather than rubbing them.
- Vinyl shades: A mix of warm water and dish soap works well. Wipe with a soft cloth.
- Solar shades: Usually low-maintenance, a quick wipe with a damp cloth is often enough.
Stain Removal: If you encounter a stain:
- Act quickly to prevent it from setting.
- Blot the stain gently rather than rubbing it, to avoid spreading it or damaging the fabric.
- Use a mild cleaning solution that’s appropriate for the fabric.
Motorized Shades: Additional Maintenance Tips
If you have motorized shades, a bit of extra care can help keep them operating smoothly:
- Regularly check and replace batteries if your shades are battery-operated.
- Inspect for any loose connections.
- Keep the mechanisms clean and dust-free.
Troubleshooting Common Issues
Here are a few common issues with roller shades and information on how to address them:
- Uneven rolling: This can often be traced back to uneven installation. Check your brackets and ensure they’re level.
- Frayed edges: If your shade is too wide for the window, this can cause fraying. Make sure you’ve chosen the correct size.
- Difficulty raising or lowering: This could be a problem with the spring mechanism. If adjusting the tension doesn’t help, you may need a replacement.
When to Replace Your Shades
With proper care, roller shades can last for many years. However, if you notice significant fading, fraying, or persistent mechanical issues, it might be time to consider a replacement. This could also be an opportunity to explore new features or designs.
Explore More Roller Shades
- Solar Screen Shades Online
- What are roller shades
- Pluses and minuses of roller shades
- Are roller shades worth it
- Are roller shades in style
Final Thoughts
Installing and maintaining roller shades doesn’t have to be complicated, but it does require attention to detail. If you’re ever unsure, don’t hesitate to seek professional help—your window treatments are an investment in your home’s comfort and style, and are worth the extra effort to get the job done right.
If you have any questions about your roller shades, feel free to reach out. We’re always here to help!
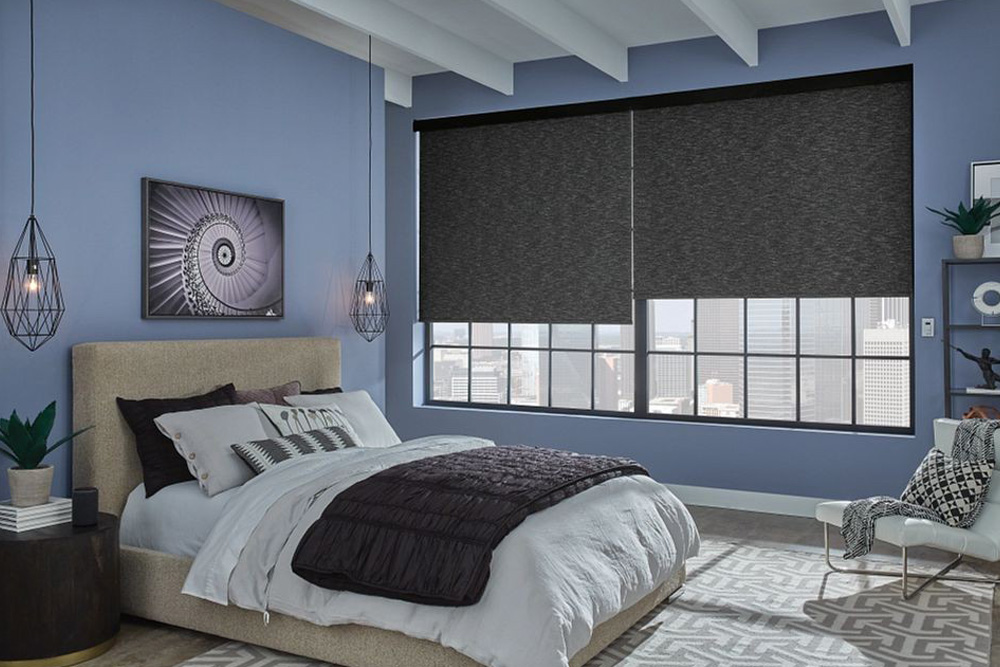
Compare styles, fabrics, and lift options in our collection of roller blinds to find styles designed for light control, privacy, and modern living.
You can also learn more by visiting our roller window shades guides for more articles and tips.