Lexi Westingate | Blinds Chalet Design Team


Updated: Jul 8 2026
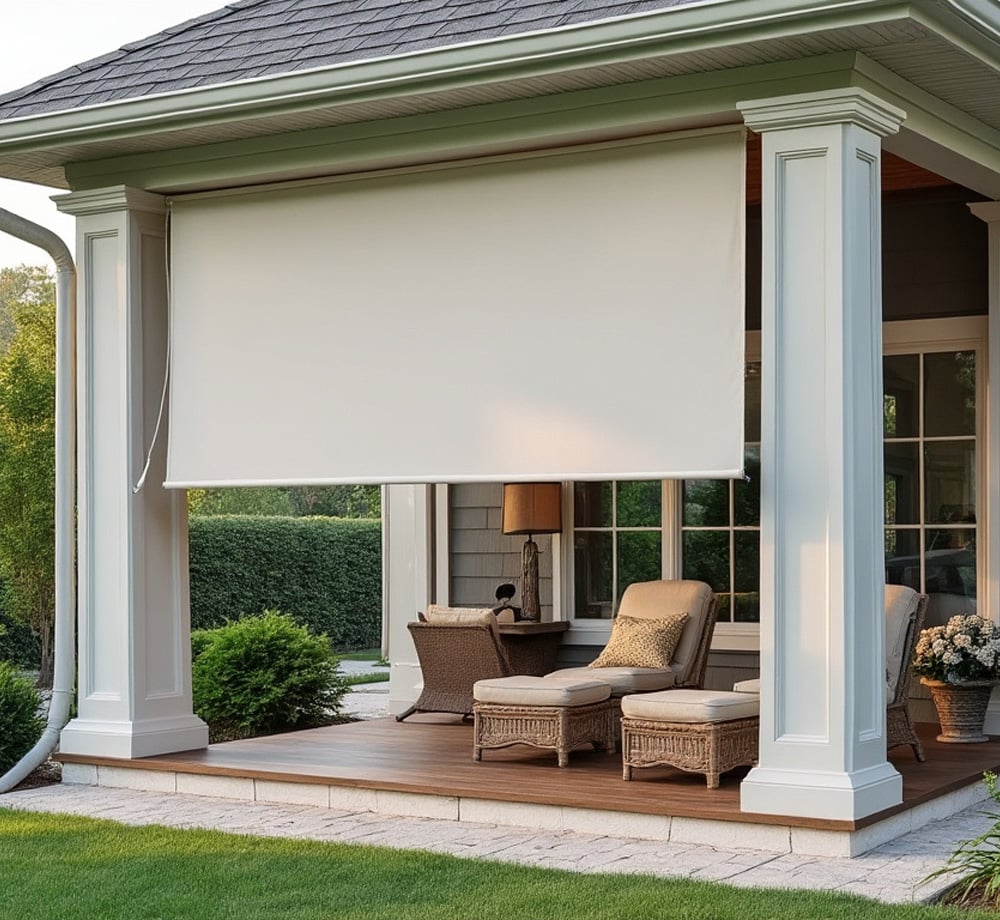
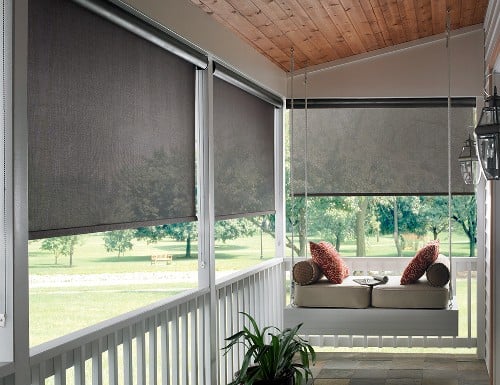
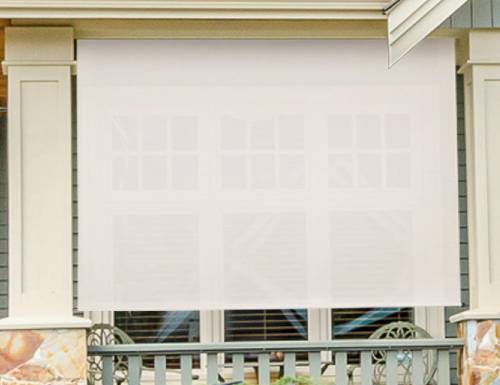
Installing exterior porch shades can enhance the comfort and usability of your outdoor space. Whether you're aiming to create a shaded area, reduce glare, or improve privacy, proper installation is crucial for maximizing the benefits of your porch shades. This guide outlines the steps for installing custom exterior porch shades, from measuring and preparation to mounting and making final adjustments. Follow these tips for a secure and professional-looking installation that lasts.
Discover durable and stylish premium shades for windows for inside your home in a wide range of materials.
1. Planning and Preparation: Setting the Stage
Before you start the installation process, it’s important to plan and prepare properly to ensure a correct fit and optimal function.
1.1. Measuring the Space
- Accurate Measurements: Measure the width and height of the area where you plan to install the shades. Use a metal tape measure for precision and take measurements at multiple points (top, middle, and bottom for width, and left, center, and right for height). Record the smallest measurement for each dimension to ensure the shades fit correctly.
- Mounting Options: Decide whether you’ll be installing the shades inside the frame (inside mount) or outside the frame (outside mount). Inside mounts offer a cleaner appearance, while outside mounts provide more coverage and are better for blocking light gaps.
1.2. Gathering Tools and Materials
- Required Tools: You will need a drill, screwdriver, level, metal tape measure, pencil, ladder, and safety glasses. Depending on your mounting surface, you may also need anchors for extra support.
- Shade Components: Ensure you have all components ready, including mounting brackets, screws, and any additional accessories like side tracks or motorization equipment.
2. Installing the Mounting Brackets: The Foundation
The mounting brackets are critical for a secure installation. Properly installed brackets ensure your shades remain stable and functional.
2.1. Marking the Bracket Locations
- Positioning the Brackets: For inside mounts, place the brackets inside the window frame and ensure they are level and evenly spaced. For outside mounts, position the brackets above or beside the window or door frame, marking the screw holes with a pencil.
- Check for Obstructions: Ensure there are no window cranks or handles that could interfere with the shade’s operation.
2.2. Drilling Pilot Holes
- Pilot Hole Tips: Use a drill bit that is slightly smaller than your screws. Drill pilot holes at the marked locations to prevent the wood or wall material from splitting when inserting the screws.
- Using Anchors: If mounting on drywall or surfaces without studs, use appropriate wall anchors for secure fastening.
2.3. Attaching the Brackets
- Securing the Brackets: Use the provided screws to attach the brackets to the mounting surface. Tighten the screws securely, but avoid over-tightening, which can damage the brackets or the surface.
- Check Alignment: Use a level to ensure the brackets are perfectly aligned before fully tightening the screws.
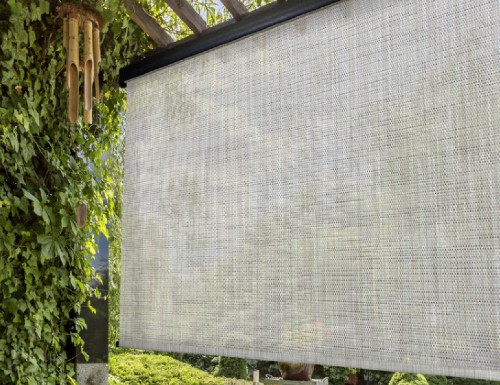
3. Installing the Shade: Mounting the Fabric
Once the brackets are securely in place, you can mount the shade, which varies depending on whether it’s manual or motorized.
3.1. Mounting Manual Shades
- Attaching the Shade: Lift the shade into place and insert it into the mounting brackets. Depending on the design, you may need to slide the headrail into the brackets or snap it in.
- Securing the Shade: Tighten any set screws on the brackets to secure the shade. Make sure the shade is firmly attached and does not move when gently tugged.
3.2. Installing Motorized Shades
- Connecting the Motor: If your shade is motorized, follow the manufacturer’s instructions to connect the motor to the power source, which may involve plugging it into an outlet or connecting it to a battery pack.
- Programming the Remote: Follow the manufacturer’s instructions to program the remote control or smart device. Test the shade's operation to ensure it moves smoothly and responds correctly.
4. Final Adjustments: Ensuring Smooth Operation
After installing the shades, make any necessary adjustments for optimal performance.
4.1. Adjusting Cord Tension
- Manual Shades: If your shade has a cord or chain, adjust the tension to ensure smooth operation. The shade should easily move up and down without slipping or sticking.
- Motorized Shades: For motorized options, check the settings for upper and lower limits, adjusting as necessary to ensure the shade stops at the desired height.
4.2. Checking for Obstructions
- Smooth Operation: Lower and raise the shade several times to ensure it operates smoothly without catching on anything.
- Side Tracks and Guides: If your shade includes side tracks or guide cables, verify that they are aligned and that the fabric moves without binding or wrinkling.
5. Securing Additional Features: Enhancing Stability
Depending on your shade type, you may have extra features to secure, such as side tracks, bottom rails, or windproofing accessories.
5.1. Installing Side Tracks or Cables
- How to Install: Follow the manufacturer’s instructions to attach side tracks or guide cables, which help keep the shade fabric in place and prevent flapping in the wind.
- Adjusting Tension: Ensure the cables or tracks are correctly tensioned, providing support without stretching or warping the fabric.
5.2. Adding Windproofing Accessories
- Wind Locks and Bottom Rails: If installed in a windy area, consider adding wind locks or weighted bottom rails to keep the shade stable during gusts.
- Using Wind Sensors: For motorized shades, install wind sensors that automatically retract the shade when wind speeds exceed a certain threshold, protecting it from damage.
Conclusion: Achieving a Secure and Professional Installation
Proper installation is vital for the performance and aesthetic appeal of your exterior porch shades. By following these step-by-step tips, you can ensure a secure installation that provides reliable sun protection, privacy, and comfort in your outdoor living area. Whether you’re installing manual or motorized shades, careful planning, accurate measurements, and attention to detail will help you achieve excellent results.
For more installation tips and a wide selection of exterior porch shades, visit Blindschalet.com to find the perfect solution for your home.
Related Articles
- Are Exterior Porch Shades Worth the Cost?
- What are Exterior Patio Shades
- How to Select an Exterior Patio Shades
- Types of Exterior Patio Shades
- Benefits of Exterior Patio Shades
- How to Care for Exterior Patio Shades
- Pro and Cons Adding Exterior Patio Shades
- Options and Upgrades for Exterior Patio Shades
- Exterior Patio Shades vs Other Options