close
Loading. Please wait...
X

Sign up for special offers:


How to Install Aluminum Mini Blinds: A Step-by-Step GuideLearn how to install aluminum mini blinds with our easy-to-follow guide. Find helpful tips on measurements, mounting brackets, and ensuring smooth operation for a perfect installation.
Lexi Westingate | Blinds Chalet Design Team
FacebookFacebookTwitter (X)Pinterest
Updated: Sep 19 2024

How to Install Aluminum Mini Blinds: A Step-by-Step Guide image
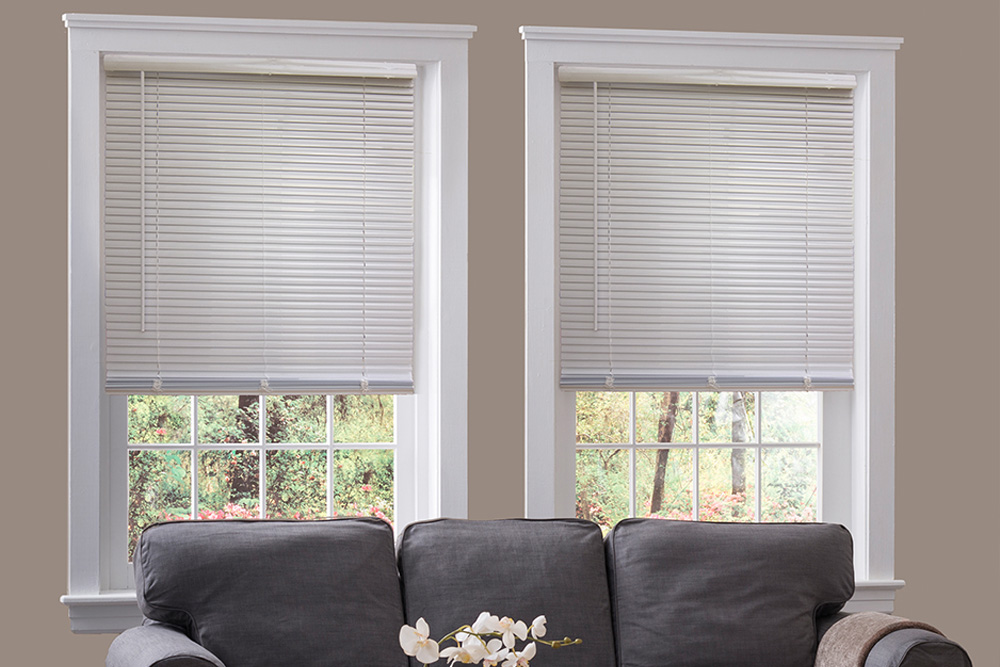
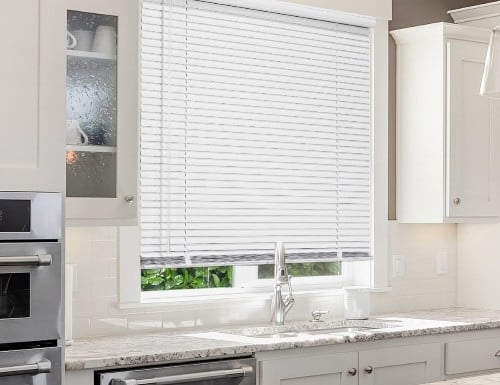
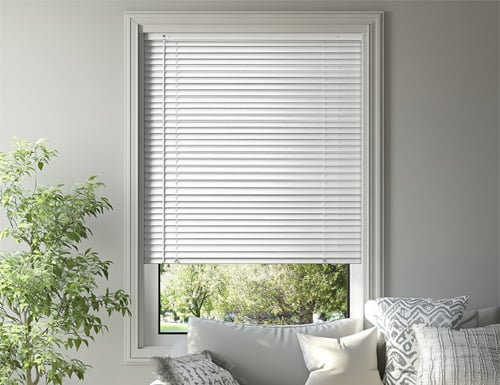
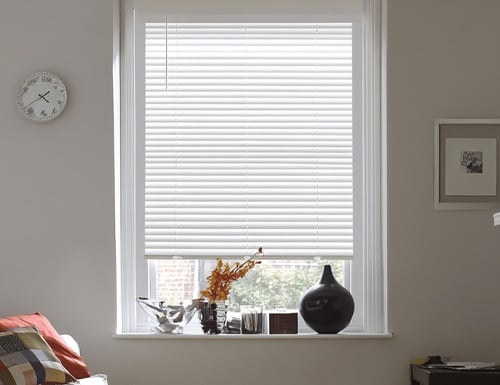
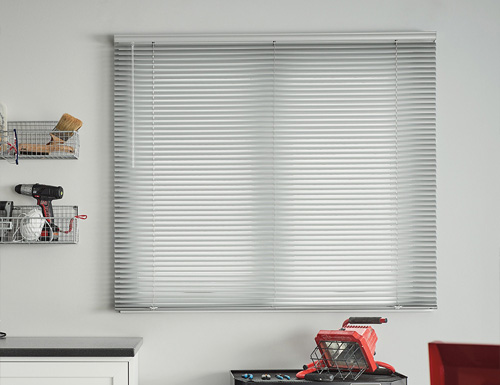
Aluminum mini blinds offer a stylish and functional solution for light control, privacy, and durability. If you're planning to install them yourself, you’ll be glad to know that with the right tools and techniques, it’s a straightforward process. Whether you’re mounting them inside the window frame for a streamlined look or outside for better coverage, this guide will help you achieve a successful installation.

1. Prepare by Gathering Tools and Measuring Accurately


Before you get started, make sure you have all the necessary tools and take accurate measurements. This ensures the installation goes smoothly and the blinds fit properly.
Tools You’ll Need:
  • Measuring tape
  • Power drill with drill bits
  • Screwdriver
  • Pencil
  • Level
  • Step ladder
  • Mounting brackets and screws (included with the custom blinds)
For Inside Mount:
  • Measure the inside of your window frame at three points (top, middle, and bottom). Use the narrowest width to ensure a snug fit.
  • Measure the height from the top of the frame to the sill, using the longest measurement for full coverage.
For Outside Mount:
  • Measure the width of the window and add 2-3 inches on each side for better light control.
  • Measure the height from the top of the window frame to your desired end point (typically a few inches below the window).
Why Accurate Measurements Matter: Proper measurements ensure a good fit, enhancing both the look and functionality of your blinds.

2. Mark and Install Mounting Brackets


With your measurements ready, it’s time to mark where the mounting brackets will go. These brackets support the headrail and need to be installed securely.
  • Mark Bracket Placement: Use a pencil to mark where the brackets should go. For inside mounts, align them evenly within the window frame. For outside mounts, mark above the frame.
  • Use a Level: Before drilling, double-check that your marks are straight using a level.
  • Drill Pilot Holes: To make installation easier and avoid damaging the window frame, drill small pilot holes where your marks are.
  • Secure the Brackets: Use your drill to attach the mounting brackets with screws, making sure they are tight and level.
Pro Tip: Ensuring the brackets are level will prevent the blinds from hanging unevenly.

3. Install the Headrail


Once your brackets are in place, you can attach the headrail, which supports the slats and operating mechanism.
  • Position the Headrail: Align the headrail with the installed brackets and snap it into place. Some brackets have locking mechanisms that need to be closed to secure the headrail.
  • Check for Security: Once the headrail is in place, gently pull on it to ensure it’s properly locked in. If it feels loose, double-check the brackets.
Pro Tip: For wider windows, use center support brackets to prevent the headrail from sagging.

4. Attach the Tilt Wand or Cord Mechanism


Depending on the style of your custom aluminum mini blinds, they may use a tilt wand or cord to control the slats.
  • For Tilt Wands: Insert the wand into the hook on the headrail. It should snap into place, allowing you to smoothly adjust the slats.
  • For Cord Mechanisms: Ensure the cords are untangled and pull them to test if the slats open and close easily.
Pro Tip: Check the tilt function after installation to ensure the slats adjust smoothly. If not, check for misalignments in the headrail.

5. Test the Blinds for Smooth Operation


Before wrapping up, take a moment to test the blinds to ensure everything is functioning as expected.
  • Raise and Lower the Blinds: Use the cord or cordless mechanism to raise and lower the blinds, ensuring they move smoothly without catching.
  • Check Alignment: Step back and ensure the blinds are level. If they’re not, adjust the brackets or headrail as needed.
  • Test Light Control: Tilt the slats to check that they open and close smoothly for proper light control.
Pro Tip: If the blinds are difficult to raise or lower, double-check the headrail to make sure it’s aligned properly.

6. (Optional) Install the Valance


If your blinds came with a valance, installing it adds a polished look by covering the headrail.
  • Attach the Clips: Secure the clips evenly across the headrail.
  • Snap on the Valance: Once the clips are in place, attach the valance, making sure it sits flush against the frame or wall.
Pro Tip: Handle the valance carefully to avoid bending or scratching it.

7. Make Final Adjustments and Consider Safety


Once the blinds are installed, make any final adjustments and take necessary safety precautions.
  • Cord Safety: If your blinds have cords, install a cord cleat to secure them out of reach of children or pets.
  • Final Inspection: Check that the blinds are level, operate smoothly, and provide adequate light control.
Pro Tip: For households with children or pets, consider cordless blinds for added safety.

Conclusion: Enjoy Your Perfectly Installed Aluminum Mini Blinds


Installing aluminum mini blinds yourself is a simple and rewarding project. By following these steps, you can ensure that your blinds are securely mounted, aligned, and functioning smoothly. With proper maintenance, your new blinds will offer stylish and durable window treatments for years to come.


If you're ready to get started, explore our aluminum mini blinds collection to compare finishes, colors, and lift systems.

You can also browse our mini blinds guide hub for additional information and recommendations.


Shop Aluminum / Vinyl Mini Blinds

Back to Top
x Blinds Chalet Guarantee Options
DetailsStandardGuaranteed to LastGuaranteed to Love
PricingFREE$$$
Warranty Duration
3 year limited warranty
5 year limited warranty
Warranty Coverage
Defects
Parts
30 Day Returns(in-store credit)

complete details about our guarantee
Guarantee

What Is Covered

Our window coverings are covered against manufacturing defects in materials or craftsmanship when used as intended, provided that:

  • The product has been correctly measured, installed, and operated.
  • All Blinds Chalet guidelines regarding product limitations, maintenance, and care have been followed.

Who Is Eligible

This warranty applies solely to the original purchaser of the product and is non-transferable.


Blinds Chalet’s Responsibility

If a covered defect is confirmed, Blinds Chalet will, at its discretion, repair the product, replace affected parts, or provide a comparable replacement.


Costs not included: The customer is responsible for expenses related to shipping as well as any measuring, installation, removal, or reinstallation services. Labor charges, service visits, and similar costs are not covered by this warranty.

What Is Not Covered

  • Damage resulting from accidents, alterations, misuse, abuse, or neglect.
  • Improper measurement, installation, cleaning, or maintenance.
  • Normal wear and tear, including fading, discoloration, or deterioration from sunlight or moisture.
  • Frayed cords, cord breakage, or reduced cord performance due to age or heavy use.

Fading and normal aging of materials are expected characteristics and are not considered defects.


Warranty Limitations

This warranty is exclusive and replaces any other expressed or implied warranties. No Blinds Chalet employee or representative is authorized to modify or extend these terms.


Blinds Chalet will not be liable for indirect, incidental, or consequential damages resulting from product use or failure.


How to Request Service


Blinds Chalet Customer Care
[email protected]
(480) 470-1127


Please include:

  • Original proof of purchase, which can be your order number or purchase confirmation email
  • A brief description of the issue
  • The location of the window covering and clear photos or video of the issue


Resolution on Warranties and Guarantees
  • BlindsChalet.com reserves, at its discretion, the right to repair, replace or refund any blinds found defective. Limit 1 remake per covered product.
  • If there are multiple blinds/shades in the same room, only the defective product will be replaced/repaired.
  • In the event that a product, color or product feature has been discontinued and it is no longer available we will provide a substitute product as similar as possible to the original blind or shade.
  • Shipping for warranty issues is the responsibility of the customer to and from the repair facility. Packaging on return shipments is the responsibility of the customer.
  • If a product or component has been discontinued, Blinds Chalet will repair or replace the affected part with the closest available match in design and color.
5 Year Guaranteed to Last
  • Standard limited warranty extended from 3 to 5 years.
5 Year Guaranteed to Love
  • Standard limited warranty extended from 3 to 5 years.
  • 30 Day Returns
    If for any reason you are not satisfied with the window coverings and wish to return them for store credit, please notify us within 30 days of receiving the order. Our customer care department will provide a Return Goods Authorization number (RGA) and shipping address for the return. Please note, return shipping costs are the responsibility of the customer and shipping labels are not provided. Returns are for store credit only and store credit will be available immediately after the items are received (Guaranteed to Love fee is not credited).
ad
X
The term "Retail" price refers to the manufacturer's or supplier's suggested retail price for an item. The initially displayed Retail price is specific to a product with the selected dimensions and default options/features. Please note that the Retail price for the selected product will be provided upon specifying its width, height, features and options.

Please note that the Retail price may not reflect the prevailing market price or the regular retail price. It is common for products to be sold at lower prices than the Retail price due to various factors, including promotional events, discounts, market competition, or supplier agreements.

Products may be offered at the same or lower "After Coupon" prices during future promotional events starting on or after the final day of any advertised promotion.

Learn More