Lexi Westingate | Blinds Chalet Design Team


Updated: Jan 20 2026
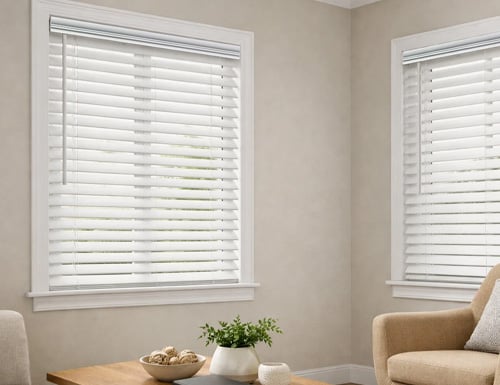
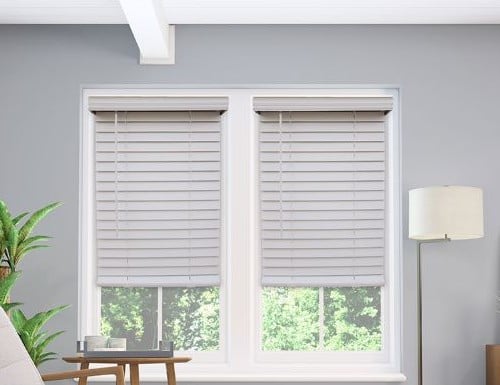
Faux wood blinds are a popular choice for many homeowners due to their durability, affordability, and resemblance to real wood. One of their greatest advantages is that they are not only stylish but also easy to install and maintain. Whether you’re a DIY enthusiast or just want to ensure your custom blinds last for years to come, this guide will walk you through the installation process and provide essential maintenance tips to keep your custom faux wood blinds looking their best.
1. Preparing for Installation: Tools and Measurements
Before diving into the installation process, the first step is ensuring you have the right tools and have accurately measured your windows.
What You’ll Need:
- Measuring tape
- Pencil
- Level
- Power drill or screwdriver
- Screws (typically included with the blinds)
- Brackets (included with the blinds)
- Ladder or step stool
Measuring Your Windows
Accurate measurements are crucial to ensuring your faux wood blinds fit perfectly, whether you’re opting for an inside mount (within the window frame) or an outside mount (mounted outside the frame).
- Inside Mount: Measure the exact width of the window opening at the top, middle, and bottom. Use the narrowest measurement as your width. Measure the height from the left, middle, and right of the window and record the longest measurement as your height.
- Outside Mount: Measure the width and height of the window plus the desired overlap (typically 1-2 inches beyond the window frame) to ensure full coverage. This ensures the blinds block light effectively and offer maximum privacy.
Pro Tip: Always double-check your measurements before ordering your blinds. Measure twice, install once!
2. Step-by-Step Installation Guide
Once you have your faux wood blinds and the necessary tools, it’s time to install them. Whether you choose an inside or outside mount, the process is fairly straightforward.
Step 1: Mark the Bracket Locations
- Inside Mount: Hold the blinds’ headrail inside the window frame, ensuring it is centered and level. Use a pencil to mark the top corners where the brackets will be installed.
- Outside Mount: Hold the headrail above the window on the wall or molding where you want to position the blinds. Mark the placement of the brackets on either side of the window frame.
Step 2: Install the Brackets
- Align the Brackets: Use a level to ensure your marks are even. Uneven brackets can cause the blinds to hang crookedly, so double-check the alignment.
- Drill Pilot Holes: If you’re mounting on a wooden surface, drill small pilot holes at your marked bracket locations. This will make it easier to screw the brackets into place.
- Secure the Brackets: Using a power drill or screwdriver, secure the brackets with the screws provided. Ensure the brackets are tightly fastened, as they will hold the weight of the blinds.
Step 3: Attach the Headrail
- Snap the Headrail into Place: With the brackets securely mounted, carefully snap the headrail of the faux wood blinds into the brackets. You may hear a click, indicating the blinds are locked in place.
- Test the Fit: Gently tug on the blinds to ensure they are securely fastened. The headrail should not move or shift once it is clicked into place.
Step 4: Attach the Wand (Optional)
- Connect the Tilt Wand: If your faux wood blinds come with a tilt wand for adjusting the slats, attach it to the designated hook on the headrail. This allows you to easily open and close the slats for light control and privacy.
Step 5: Test the Blinds
- Raise and Lower the Blinds: Pull or push the bottom rail (for cordless blinds) or use the cord (for corded blinds) to raise and lower the blinds. Ensure the operation is smooth and that the slats tilt properly.
Pro Tip: If the blinds seem uneven or difficult to operate, check the level of the brackets and make sure all screws are securely fastened.
3. Maintenance Tips to Keep Your Faux Wood Blinds Looking New
Faux wood blinds are durable and low-maintenance, but regular care can extend their life and keep them looking pristine. Here are some essential maintenance tips to ensure your blinds stay in top condition.
Dusting Your Blinds
Dust can accumulate on the slats of faux wood blinds over time. Regular dusting will prevent buildup and keep them looking clean.
- Feather Duster or Soft Cloth: Use a feather duster or a microfiber cloth to gently dust the slats. Start at the top and work your way down to ensure you cover all areas.
- Vacuum with Brush Attachment: For a more thorough cleaning, you can use a vacuum cleaner with a brush attachment. Set the vacuum to a low suction setting and run the brush across each slat to remove dust and debris.
Pro Tip: Close the slats in one direction, dust them, and then tilt the slats in the opposite direction to dust the other side for complete coverage.
Spot Cleaning for Stains
Although faux wood blinds are resistant to stains, occasional splashes or spills may occur, especially in kitchens or bathrooms. When this happens, it’s important to clean them promptly.
- Mild Detergent and Water: Use a mixture of mild detergent and warm water. Dampen a soft cloth with the solution and gently wipe the affected area. Be sure not to oversaturate the cloth, as excess moisture can damage the blinds.
- Avoid Harsh Chemicals: Never use abrasive cleaners, bleach, or harsh chemicals on faux wood blinds, as these can strip the finish or cause discoloration.
Pro Tip: Test a small, inconspicuous area of the blinds with the cleaning solution before applying it to the entire surface to ensure it doesn’t affect the color or finish.
Deep Cleaning Your Blinds
Once or twice a year, it’s a good idea to give your blinds a more thorough cleaning to remove deep-seated dirt and grime.
- Take the Blinds Down: If the blinds are particularly dirty, remove them from the brackets and lay them flat on a clean surface.
- Wipe Each Slat Individually: Use a damp cloth to wipe down each slat, both front and back. For particularly stubborn dirt, use a soft-bristle brush to gently scrub the slats.
- Reinstall the Blinds: Once they’re clean, allow them to air dry completely before reinstalling them in the window.
Pro Tip: Dry the slats with a clean, dry cloth to avoid water spots or streaks. Never re-hang the blinds while they’re still wet.
Preventing Warping and Cracking
Faux wood blinds are designed to withstand moisture and sunlight, but prolonged exposure to extreme temperatures can cause minor warping or damage. To prevent this, follow these guidelines:
- Avoid Direct Sunlight: While faux wood blinds are more resistant to fading than real wood, extended exposure to harsh sunlight can still cause minor discoloration. Consider using curtains or drapes to shield the blinds during the hottest parts of the day.
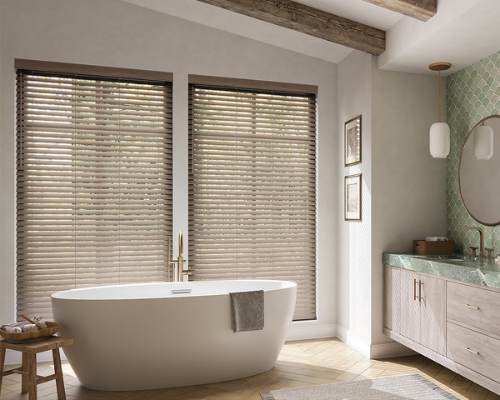
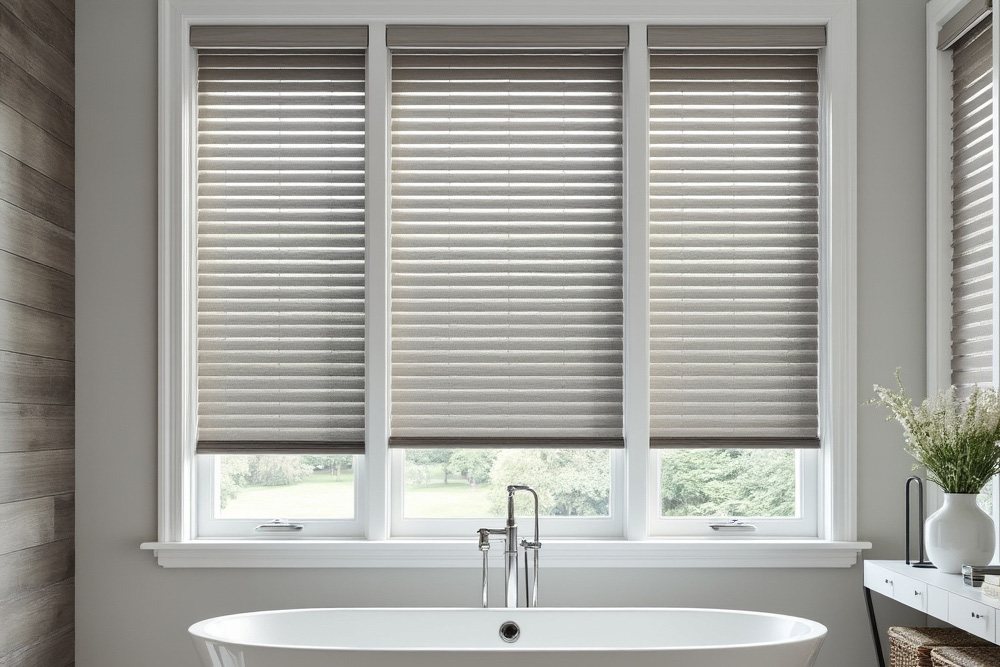
- Monitor Humidity Levels: While faux wood blinds are moisture-resistant, it’s still important to control humidity levels in high-moisture rooms. Good ventilation will help prevent mold or mildew from forming on the blinds.
Pro Tip: Use a dehumidifier in bathrooms or laundry rooms to keep moisture levels in check and extend the life of your faux wood blinds.
4. Common Issues and Troubleshooting
While faux wood blinds are generally low-maintenance, a few common issues can arise. Here’s how to troubleshoot and fix them:
Problem: Blinds Won’t Raise or Lower Properly
- Check for Obstructions: Make sure there are no obstructions blocking the slats or headrail from moving freely.
- Adjust the Brackets: If the blinds are difficult to operate, the brackets may be too tight. Loosen the screws slightly to allow for smoother movement.
Problem: Blinds Are Uneven
- Recheck the Installation: If the blinds are hanging unevenly, the brackets may not be level. Use a level to check the alignment and adjust the brackets as needed.
Explore Faux Wood Blinds
Ready to explore your options? Browse our Faux Wood Window Blinds.
You can also explore:
- Complete Guide To Faux Wood Blinds
- Introduction To Faux Wood Blinds
- The Benefits Of Faux Wood Blinds
- How To Choose The Right Faux Wood Blinds
- Where To Buy Affordable Faux Wood Blinds
Conclusion
Installing and maintaining faux wood blinds is a straightforward process that any homeowner can manage. Whether you’re installing them in your living room, bedroom, or bathroom, these blinds offer durability, easy upkeep, and a classic look that can enhance any space. With regular dusting, spot cleaning, and occasional deep cleaning, your faux wood blinds will stay looking beautiful and functional for years to come.
Explore the wide selection of faux wood blinds at BlindsChalet.com and find the perfect style for your home. With proper installation and care, you’ll enjoy both the beauty and functionality of your new blinds for years to come.
Compare colors, slat sizes, and lift options in our selection of custom faux wood blinds to find the best fit for your windows.
Still deciding? Check out our faux wood blinds buying guides to help you choose with confidence.