close
Loading. Please wait...
X

Sign up for special offers:


Lexi Westingate | Blinds Chalet Design Team
FacebookFacebookTwitter (X)Pinterest
Updated: Oct 4 2024

How to Install Pleated Shades: A Step-by-Step Guide for a Perfect Fit image
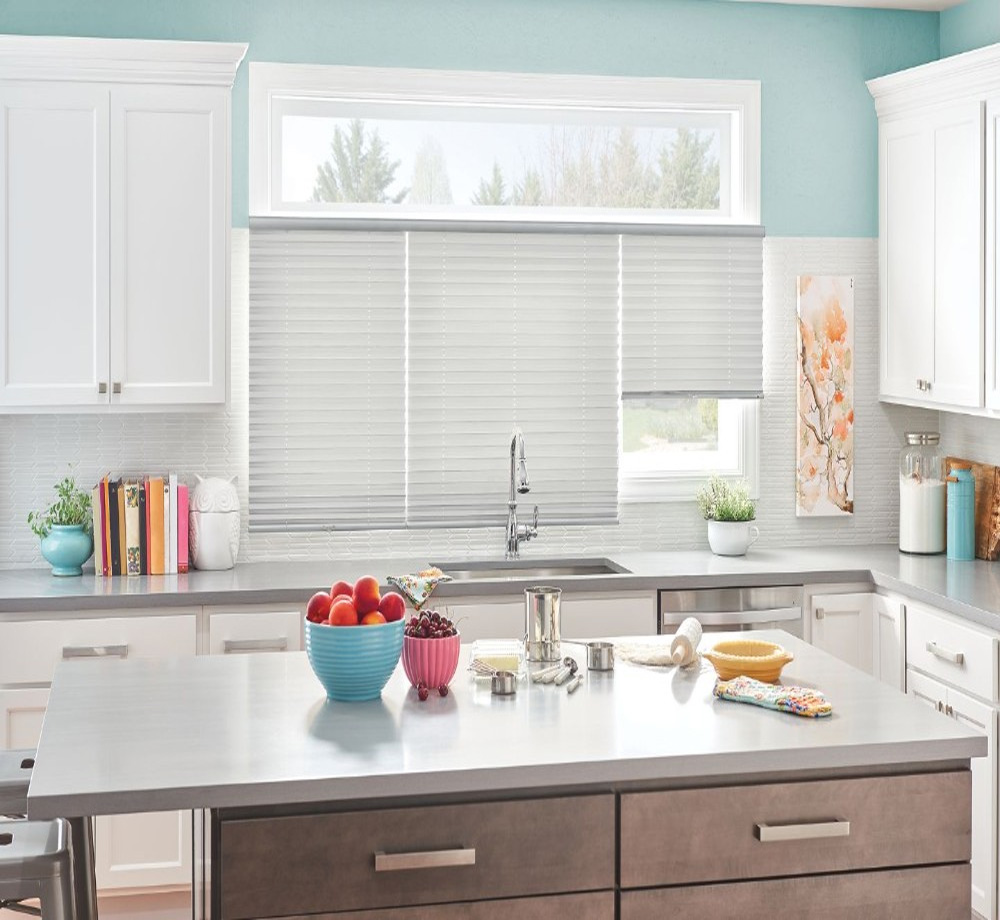
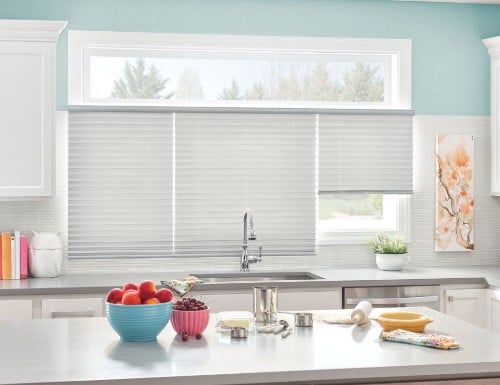
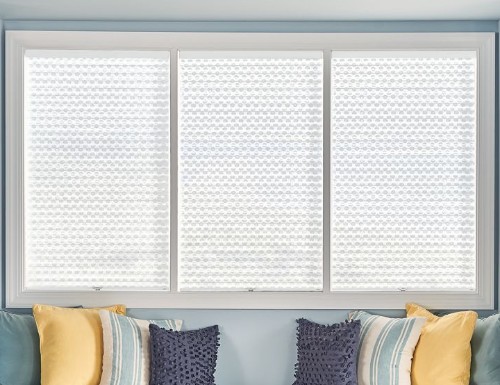
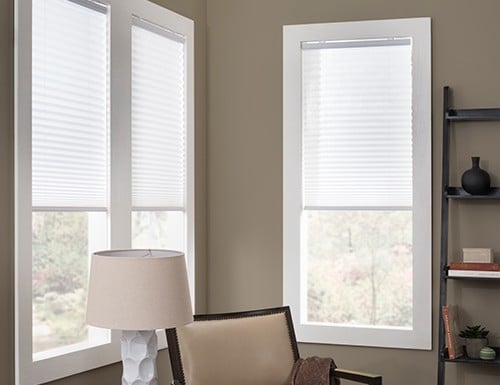
Pleated shades are a great way to add both style and function to your windows. They offer a clean, elegant look and are easy to install with the right instructions. Whether you're mounting your shades inside the window frame or outside on the wall or trim, this guide will take you through each step to ensure a smooth installation.
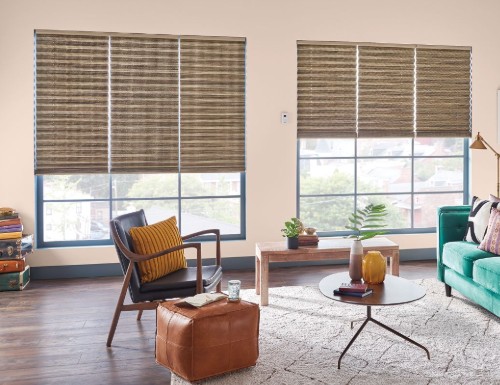
1. Preparation: Gather Your Tools and Materials


Before starting, make sure you have everything you need. This will make the process quicker and easier.

Tools You’ll Need:
  • Measuring tape
  • Pencil
  • Level
  • Drill with bits
  • Screwdriver
  • Ladder or step stool
  • Screws and wall anchors (if needed)
  • Mounting brackets (included with your shades)
  • Pleated shades and hardware
Check the Shade Package Contents:

Ensure the package includes:
  • Pleated shade(s)
  • Mounting brackets
  • Screws and wall anchors
  • Installation instructions
Why It Matters: Preparing ahead of time helps avoid delays and ensures a smooth installation process.

2. Measuring for Pleated Shades: Ensuring a Proper Fit


Accurate measurements are key to making sure your pleated shades fit and work as they should.

Inside Mount:
  • Width: Measure the width of the window at the top, middle, and bottom. Use the narrowest measurement.
  • Height: Measure the height on the left, center, and right. Use the longest measurement.
  • Depth: Make sure your window frame is deep enough to fit the mounting brackets.
Outside Mount:
  • Width: Measure the width of the area you want to cover. Add 2-3 inches on each side for better light control.
  • Height: Measure from the top of the window frame to the desired length, typically extending a few inches below the sill.
Why It Matters: Accurate measurements are critical for a seamless fit, whether you’re mounting inside or outside the window frame.

3. Installing the Mounting Brackets


Your pleated shades come with brackets that need to be securely mounted to support the shades.

Inside Mount:
  1. Position the Brackets: Place the brackets inside the window frame, making sure they are level and spaced at least 2 inches from the corners.
  2. Mark the Screw Holes: Use a pencil to mark where the screws will go.
  3. Pre-Drill Holes: Pre-drill the holes to make inserting the screws easier.
  4. Attach the Brackets: Secure the brackets with screws, checking that they are level.
Outside Mount:
  1. Position the Brackets: Hold the brackets on the wall or window trim, level, and centered over the window.
  2. Mark the Screw Holes: Mark the spots for your screws with a pencil.
  3. Pre-Drill Holes and Insert Wall Anchors: If needed, drill holes and insert wall anchors for stability.
  4. Attach the Brackets: Secure the brackets with screws, ensuring they are level.
Why It Matters: Correct placement and secure brackets are essential for smooth operation of your pleated shades.

4. Installing the Pleated Shades


Once the brackets are in place, you can attach the shades.
  1. Attach the Headrail: Align the headrail with the brackets and snap it in place.
  2. Secure the Headrail: Ensure the headrail is secure and that the shades move up and down smoothly.
  3. Install the Handle (Optional): If your shades have a handle, attach it to the bottom rail for easy operation.
Why It Matters: Securing the headrail properly ensures that your shades function correctly and stay in place.

5. Final Adjustments and Troubleshooting


Once installed, test your shades to make sure they operate smoothly.
  • Checking Operation: Raise and lower the shades several times to make sure they are functioning properly.
  • Adjust Cord Tension: If your shades are corded, adjust the tension if needed.
  • Light Gaps: For outside mounts, if you notice light gaps, consider using side channels or a light-blocking strip for better coverage.
Why It Matters: These final adjustments ensure your shades look great and function as expected.

Conclusion: A Professional Finish for Your Pleated Shades


With the right tools and a bit of patience, installing pleated shades can be a straightforward project. By following these steps, you’ll have professionally installed shades that enhance your home’s style and functionality. Whether you're aiming for better light control, privacy, or simply a polished look, pleated shades offer a versatile solution for any room.

For more details or additional help with your installation, visit Blindschalet.com for expert advice and a wide range of window treatment options.


Shop Pleated Shades

Back to Top
x Blinds Chalet Guarantee Options
DetailsGoodBetterBest
PricingFREE$$$
Duration
3 year limited warranty
5 year limited warranty
5 year unlimited
Warranty
Defects
Parts
Restrings
Normal wear & tear
Anything
30 Day Returns
3 Year Standard Guarantee
Who is covered:
  • Warranties cover the original purchaser of the window blinds and shades.
What is covered:
  • Any defects in materials of workmanship
  • Operating mechanisms and other parts
  • Cell separation on honeycomb/cellular shades
  • Warping slats for faux wood and wood blinds
  • Broken vertical vanes
  • Restrings for internal cords
What is not covered:
  • Parts that fail due to accident, alteration and/or improper use
  • Normal wear and tear
  • Color fading due to excessive exposure to sunlight, moisture or improper cleaning
  • Accidental damage
Resolution:
  • BlindsChalet.com reserves, at its discretion, the right to repair, replace or refund any blinds found defective.
  • If there are multiple blinds/shades in the same room, only the defective product will be replaced/repaired.
  • In the event that a product, color or product feature has been discontinued and it is no longer available we will provide a substitute product as similar as possible to the original blind or shade.
  • Shipping for warranty issues is the responsibility of the customer to and from the repair facility. Packaging on return shipments is the responsibility of the customer.

30 Day Returns

This plan does not cover returns.
5 Year Guaranteed to Last
Who is covered:
  • Warranties cover the original purchaser of the window blinds and shades.
What is covered:
  • Any defects in materials of workmanship
  • Operating mechanisms and other parts
  • Cell separation on honeycomb/cellular shades
  • Warping slats for faux wood and wood blinds
  • Broken vertical vanes
  • Restrings for internal cords
What is not covered:
  • Parts that fail due to accident, alteration and/or improper use
  • Normal wear and tear
  • Color fading due to excessive exposure to sunlight, moisture or improper cleaning
  • Accidental damage
Resolution:
  • BlindsChalet.com reserves, at its discretion, the right to repair, replace or refund any blinds found defective. Limit 1 remake per covered product.
  • If there are multiple blinds/shades in the same room, only the defective product will be replaced/repaired.
  • In the event that a product, color or product feature has been discontinued and it is no longer available we will provide a substitute product as similar as possible to the original blind or shade.
  • Shipping for warranty issues is the responsibility of the customer to and from the repair facility. Packaging on return shipments is the responsibility of the customer.

30 Day Returns

This plan does not cover returns.
5 Year Guaranteed to Love
Who is covered:
  • Warranties cover the original purchaser of the window blinds and shades.
What is covered:
  • Any defects in materials of workmanship
  • Operating mechanisms and other parts
  • Cell separation on honeycomb/cellular shades
  • Warping slats for faux wood and wood blinds
  • Broken vertical vanes
  • Restrings for internal cords
  • Parts that fail due to accident, alteration and/or improper use
  • Normal wear and tear
  • Color fading due to excessive exposure to sunlight, moisture or improper cleaning
  • Accidental damage
Resolution:
  • BlindsChalet.com reserves, at its discretion, the right to repair, replace or refund any blinds found defective. Limit 1 remake per covered product.
  • If there are multiple blinds/shades in the same room, only the defective product will be replaced/repaired.
  • In the event that a product, color or product feature has been discontinued and it is no longer available we will provide a substitute product as similar as possible to the original blind or shade.
  • Shipping for warranty issues is the responsibility of the customer to and from the repair facility. Packaging on return shipments is the responsibility of the customer.

30 Day Returns

If for any reason you are not satisfied with the window coverings and wish to return them for store credit, please notify us within 30 days of receiving the order. Our customer care department will provide a Return Goods Authorization number (RGA) and shipping address for the return. Please note, return shipping costs are the responsibility of the customer and shipping labels are not provided. Returns are for store credit only and store credit will be available immediately after the items are received (Guaranteed to Love fee is not credited).

Shutters,custom graphic shades, commercial/dealer orders are not covered.
ad
X
The term "Retail" price refers to the manufacturer's or supplier's suggested retail price for an item. The initially displayed Retail price is specific to a product with the selected dimensions and default options/features. Please note that the Retail price for the selected product will be provided upon specifying its width, height, features and options.

Please note that the Retail price may not reflect the prevailing market price or the regular retail price. It is common for products to be sold at lower prices than the Retail price due to various factors, including promotional events, discounts, market competition, or supplier agreements.

Products may be offered at the same or lower "After Coupon" prices during future promotional events starting on or after the final day of any advertised promotion.

Learn More