close
Loading. Please wait...
X

Sign up for special offers:


Lexi Westingate | Blinds Chalet Design Team
FacebookFacebookTwitter (X)Pinterest
Updated: Sep 17 2024

Installation Tips for Real Wood Blinds: A Step-by-Step Guide image
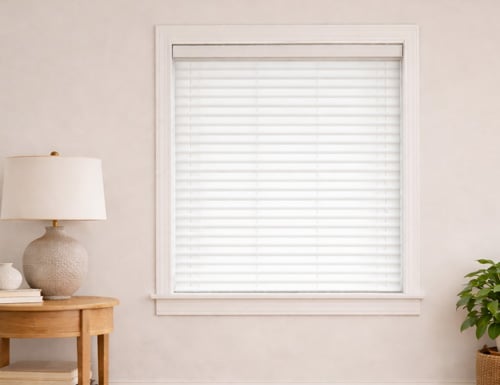
Real wood blinds add a touch of elegance and functionality to any space. Proper installation is key to ensuring your blinds look great and work smoothly. Whether you’re tackling the installation yourself or hiring a professional, this guide provides essential steps and tips to help you achieve a successful installation.

1. Gather the Necessary Tools


Before starting, make sure you have the right tools on hand. While most real wood blinds come with mounting hardware, you'll need a few additional items to complete the installation.
  • Tools Needed:
    • Measuring tape
    • Power drill (with bits)
    • Screwdriver
    • Pencil
    • Level
    • Step ladder
    • Mounting brackets and screws (included with blinds)
Having these tools ready will help you complete the installation efficiently and avoid unnecessary delays.

Pro Tip: Double-check the packaging to ensure all hardware is included, and verify that the blinds’ dimensions match your window measurements before beginning.

2. Measure and Mark Carefully


Accurate measurements are crucial for a proper fit. Even small errors can result in blinds that don’t function correctly or look uneven.
  • Inside Mount:
    • Measure the width of the window at three points (top, middle, and bottom) and use the smallest measurement. For height, measure from the top of the window to the bottom, using the largest measurement.
  • Outside Mount:
    • Measure the width of the window and add 2-3 inches on each side for better coverage. For height, measure from the top of the window frame to where you want the blinds to end, typically a few inches below the window.
Mark the bracket locations with a pencil, ensuring they are level.

Pro Tip: For inside mounts, measure inside the window frame and allow space for the mounting
brackets to fit comfortably.

3. Align and Install the Mounting Brackets


Once you’ve marked the spots, it’s time to install the brackets that will hold the headrail.
  • Inside Mount Installation:
    1. 1 Place the brackets inside the window frame and ensure they are level.
    2. Drill pilot holes for the screws to prevent splitting or damaging the frame.
    3. Secure the brackets with screws, making sure they are aligned properly.
  • Outside Mount Installation:
    1. 1 Position the brackets above the window frame and ensure they are level.
    2. Drill pilot holes and secure the brackets with screws. Use a level to confirm that the brackets are perfectly aligned.
Pro Tip: Check alignment with a level after installing the first bracket to ensure the second bracket is correctly positioned.

4. Install the Headrail


With the brackets in place, you can now install the headrail, which supports the slats.
  • Headrail Installation:
    1. Insert the headrail into the brackets, tilting it if necessary.
    2. Snap or lock the headrail into place, depending on the bracket type.
    3. Ensure the headrail is securely fastened and does not move when gently tugged.
For wider windows, some blinds include center support brackets. Make sure these are properly installed to prevent sagging.

Pro Tip: If your blinds include a decorative valance, install it over the headrail after it is
mounted.

5. Attach the Tilt Wand or Cord Mechanism


Attach the tilt mechanism, which controls the slats' movement. Blinds typically come with either
a tilt wand or cord system.
  • Tilt Wand Installation: Insert the wand into the mechanism hook on the headrail and ensure it clicks into place.
  • Cord Mechanism: If using a cord system, ensure the cords are untangled and operate smoothly when raising, lowering, or tilting the slats.
Pro Tip: Test the tilt mechanism and the lift function to ensure smooth operation. Check the alignment of the headrail if the slats don’t tilt properly.

6. Check and Adjust for Smooth Operation


After installation, test the blinds to ensure they function correctly.
  • Raise and Lower the Blinds: Use the cord or lift system to raise and lower the blinds. Ensure the slats move evenly and the blinds stack correctly when raised.
  • Tilt the Slats: Adjust the slats using the tilt wand or cord to ensure even opening and closing. If uneven, adjust the bracket alignment as needed.
Pro Tip: If the blinds are hard to raise or lower, check for obstructions in the headrail and ensure the brackets aren’t too tight.

7. Install the Valance (Optional)


A decorative valance can cover the headrail and enhance the blinds' appearance.
  • Valance Installation:
    1. Attach the clips to the headrail.
    2. Snap the valance into place over the clips, ensuring it sits flush with the window frame.
Pro Tip: Handle the valance carefully to avoid scratching the wood or finish.

8. Safety and Final Adjustments


Consider safety, especially with corded blinds in homes with children or pets.
  • Cord Safety: Install cord cleats to keep cords out of reach. Cordless blinds are a safer alternative.
  • Final Adjustments: Make any final tweaks to the slats or tilt mechanism. Ensure the blinds are level and the valance is securely attached.
Pro Tip: Use child-safety features such as cordless blinds or attach cord cleats to keep cords
safely out of reach.
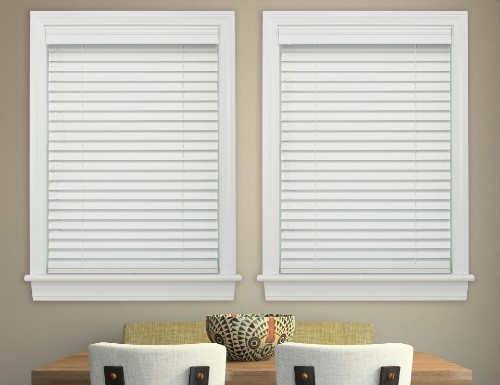
Conclusion


Installing real wood blinds is a rewarding project that adds both style and functionality to your home. By following these installation tips—accurate measuring, secure mounting, and functional testing—you’ll ensure your blinds look great and operate smoothly. For those who prefer professional help, Blinds Chalet offers nationwide installation services to ensure a perfect fit. Whether you choose DIY or professional installation, real wood blinds will enhance the elegance of any room.
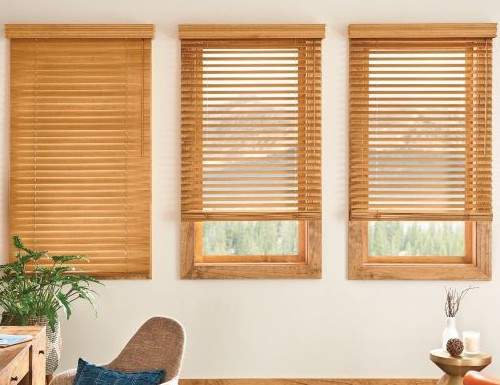

Shop Wood Blinds

Back to Top
x Blinds Chalet Guarantee Options
DetailsGoodBetterBest
PricingFREE$$$
Duration
3 year limited warranty
5 year limited warranty
5 year unlimited
Warranty
Defects
Parts
Restrings
Normal wear & tear
Anything
30 Day Returns
3 Year Standard Guarantee
Who is covered:
  • Warranties cover the original purchaser of the window blinds and shades.
What is covered:
  • Any defects in materials of workmanship
  • Operating mechanisms and other parts
  • Cell separation on honeycomb/cellular shades
  • Warping slats for faux wood and wood blinds
  • Broken vertical vanes
  • Restrings for internal cords
What is not covered:
  • Parts that fail due to accident, alteration and/or improper use
  • Normal wear and tear
  • Color fading due to excessive exposure to sunlight, moisture or improper cleaning
  • Accidental damage
Resolution:
  • BlindsChalet.com reserves, at its discretion, the right to repair, replace or refund any blinds found defective.
  • If there are multiple blinds/shades in the same room, only the defective product will be replaced/repaired.
  • In the event that a product, color or product feature has been discontinued and it is no longer available we will provide a substitute product as similar as possible to the original blind or shade.
  • Shipping for warranty issues is the responsibility of the customer to and from the repair facility. Packaging on return shipments is the responsibility of the customer.

30 Day Returns

This plan does not cover returns.
5 Year Guaranteed to Last
Who is covered:
  • Warranties cover the original purchaser of the window blinds and shades.
What is covered:
  • Any defects in materials of workmanship
  • Operating mechanisms and other parts
  • Cell separation on honeycomb/cellular shades
  • Warping slats for faux wood and wood blinds
  • Broken vertical vanes
  • Restrings for internal cords
What is not covered:
  • Parts that fail due to accident, alteration and/or improper use
  • Normal wear and tear
  • Color fading due to excessive exposure to sunlight, moisture or improper cleaning
  • Accidental damage
Resolution:
  • BlindsChalet.com reserves, at its discretion, the right to repair, replace or refund any blinds found defective. Limit 1 remake per covered product.
  • If there are multiple blinds/shades in the same room, only the defective product will be replaced/repaired.
  • In the event that a product, color or product feature has been discontinued and it is no longer available we will provide a substitute product as similar as possible to the original blind or shade.
  • Shipping for warranty issues is the responsibility of the customer to and from the repair facility. Packaging on return shipments is the responsibility of the customer.

30 Day Returns

This plan does not cover returns.
5 Year Guaranteed to Love
Who is covered:
  • Warranties cover the original purchaser of the window blinds and shades.
What is covered:
  • Any defects in materials of workmanship
  • Operating mechanisms and other parts
  • Cell separation on honeycomb/cellular shades
  • Warping slats for faux wood and wood blinds
  • Broken vertical vanes
  • Restrings for internal cords
  • Parts that fail due to accident, alteration and/or improper use
  • Normal wear and tear
  • Color fading due to excessive exposure to sunlight, moisture or improper cleaning
  • Accidental damage
Resolution:
  • BlindsChalet.com reserves, at its discretion, the right to repair, replace or refund any blinds found defective. Limit 1 remake per covered product.
  • If there are multiple blinds/shades in the same room, only the defective product will be replaced/repaired.
  • In the event that a product, color or product feature has been discontinued and it is no longer available we will provide a substitute product as similar as possible to the original blind or shade.
  • Shipping for warranty issues is the responsibility of the customer to and from the repair facility. Packaging on return shipments is the responsibility of the customer.

30 Day Returns

If for any reason you are not satisfied with the window coverings and wish to return them for store credit, please notify us within 30 days of receiving the order. Our customer care department will provide a Return Goods Authorization number (RGA) and shipping address for the return. Please note, return shipping costs are the responsibility of the customer and shipping labels are not provided. Returns are for store credit only and store credit will be available immediately after the items are received (Guaranteed to Love fee is not credited).

Shutters,custom graphic shades, commercial/dealer orders are not covered.
ad
X
The term "Retail" price refers to the manufacturer's or supplier's suggested retail price for an item. The initially displayed Retail price is specific to a product with the selected dimensions and default options/features. Please note that the Retail price for the selected product will be provided upon specifying its width, height, features and options.

Please note that the Retail price may not reflect the prevailing market price or the regular retail price. It is common for products to be sold at lower prices than the Retail price due to various factors, including promotional events, discounts, market competition, or supplier agreements.

Products may be offered at the same or lower "After Coupon" prices during future promotional events starting on or after the final day of any advertised promotion.

Learn More