Lexi Westingate | Blinds Chalet Design Team


Updated: Jul 7 2026
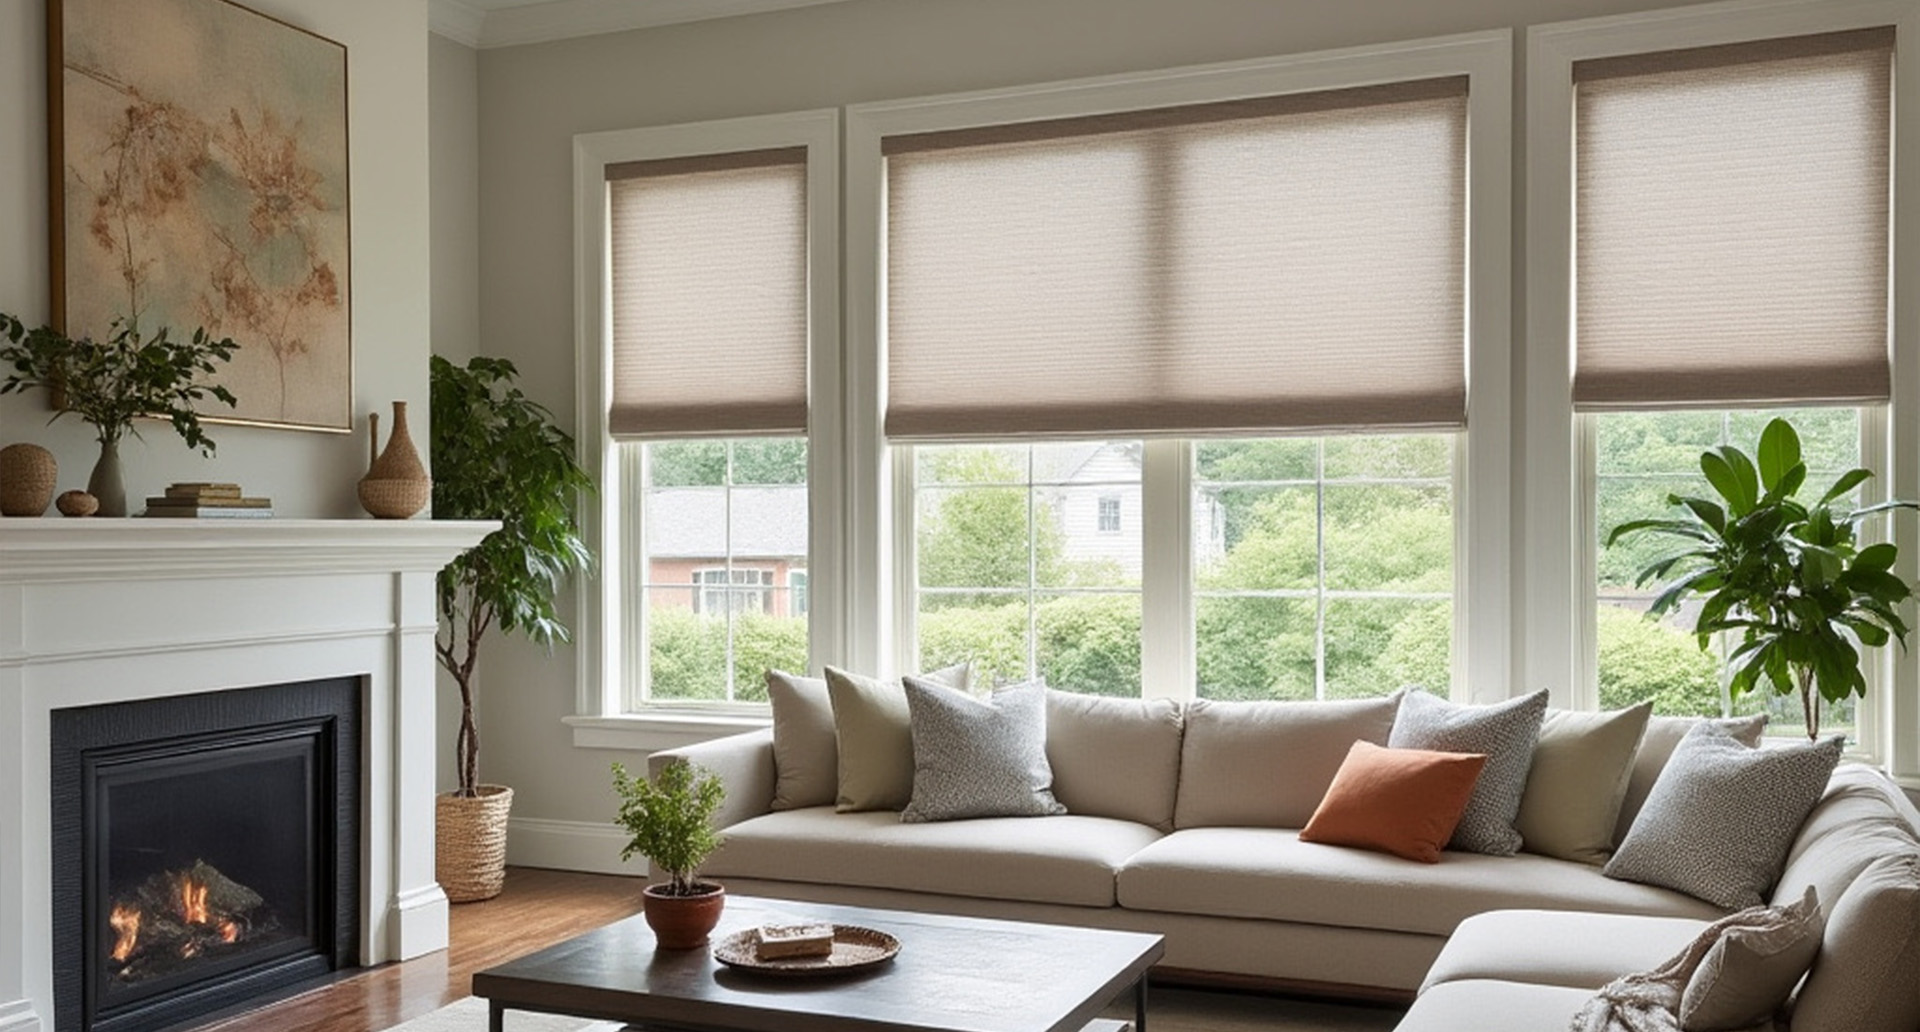
Home automation blinds and shades offer a stylish and convenient way to control light, privacy, and energy efficiency in your home. However, installing these smart window treatments involves more than just mounting them; it also includes integrating them with your smart home system for optimal performance. This comprehensive guide will take you through the installation process, from initial preparation to connecting with your smart home devices, ensuring a smooth setup that maximizes the benefits of your automated shades.
Browse our catalog of smart blinds and shades with home automation. Find the ideal solution with our selection of window shades for every décor and light control need.
1. Pre-Installation Considerations
Before you begin installing your home automation blinds and shades, it’s crucial to prepare by selecting the right product and understanding the installation requirements.
1.1. Measuring Your Windows
Accurate measurements are vital to ensure that your shades fit perfectly and operate smoothly.
- Inside Mount:Measure the width and height inside the window frame at three different points: top, middle, and bottom. Use the narrowest width and the longest height.
- Outside Mount: Measure the area you want to cover, including additional space on each side for improved light control and privacy. This is ideal for hiding the window frame or covering imperfections.
1.2. Choosing the Right Power Source
Home automation shades can be powered in various ways, including battery, plug-in, or hardwired connections, each with its advantages.
- Battery-Powered: Great for standard windows and easy to install. Batteries will need periodic replacement depending on usage.
- Plug-In: Ideal for frequently used shades or larger windows; requires a nearby power outlet.
- Hardwired: Offers a clean look with no visible wires but requires professional installation, making it best for new builds or major renovations.
frequency.
1.3. Selecting Mounting Hardware
Depending on the shade type and window structure, different mounting hardware may be necessary.
- Standard Brackets: Used for most inside and outside mount installations.
- Extension Brackets: Needed if you need to extend the shade away from the wall or window frame.
- Spacer Blocks: Useful for clearing obstacles like window cranks or handles.
2. Installation Steps for Home Automation Blinds and Shades
With the right product chosen and your workspace prepared, you can start the installation process. Follow these steps for a successful setup.
2.1. Marking the Bracket Locations
Accurate bracket placement is essential for even hanging and smooth operation of the shades.
- Inside Mount: Hold the brackets inside the window frame at the top corners, ensuring they are level. Mark the screw holes with a pencil.
- Outside Mount: Position the brackets above the window frame, aligning them with your marks for an even installation.
2.2. Installing the Brackets
Securing the brackets properly is crucial for the stability and functionality of the shades.
- Drill Pilot Holes: Pre-drill holes at the marked locations to facilitate screw insertion.
- Attach the Brackets: Use screws to secure the brackets. If installing in drywall, use wall anchors for added stability.
2.3. Mounting the Shades
Once the brackets are securely in place, it’s time to mount the shades.
- Snap or Clip into Brackets: Depending on the type of shade, either snap the headrail into the brackets or secure it with screws.
- Check Alignment: Ensure the shade is centered and operates smoothly, making adjustments as necessary.
2.4. Connecting the Power Source
With the shades mounted, connect them to the chosen power source.
- Battery-Powered Shades: Insert batteries into the battery compartment or connect an external battery pack.
- Plug-In Shades: Plug the power adapter into a nearby outlet and secure any loose cords to prevent tangling.
- Hardwired Shades: Consult a professional if you’re unfamiliar with electrical work to safely connect the shades.
3. Integrating with Smart Home Systems
After installing the shades, the next step is connecting them to your smart home system for automated control.
3.1. Setting Up the Smart Hub
Many home automation shades require a smart hub to connect to your Wi-Fi network and other devices.
- Install the Hub: Place the hub centrally, preferably in line-of-sight with the shades, and connect it to your home Wi-Fi network.
- Pair the Shades: Follow the manufacturer’s instructions to pair the shades with the hub, typically by pressing a button on the shade or using a smartphone app.
3.2. Connecting to Smart Home Platforms
Once connected to the hub, integrate the shades with your smart home platform of choice.
- Amazon Alexa: Enable the skill for your shade brand and link your account. Use commands like “Alexa, lower the living room shades.”
- Google Assistant: Add the device through the Google Home app and assign it to a room. Use commands like “Hey Google, open the bedroom shades.”
- Apple HomeKit: Use the Home app to add the shades, assigning them to specific rooms and creating scenes for automation.
3.3. Setting Up Schedules and Automations
Utilize schedules and automations to maximize the benefits of your smart shades.
- Schedules: Program shades to open and close at designated times, like opening at sunrise and closing at sunset.
- Automations: Create automations that trigger the shades based on events, such as arming your security system or adjusting the thermostat.
Why It Matters: Automations and schedules enhance the convenience and efficiency of your smart home, making daily routines effortless.
4. Troubleshooting Common Installation Issues
Even with careful preparation, issues can arise during installation. Here are some common problems and solutions:
4.1. Shades Not Fitting Properly
If the shades don’t fit as expected, recheck your measurements and the installation position.
- Inside Mount: Ensure the shades aren’t too wide or narrow for the window frame. Adjust the brackets slightly if necessary.
- Outside Mount: Verify that the shades cover the desired area and adjust bracket placement if needed.
4.2. Connectivity Issues with Smart Home Systems
If the shades aren’t connecting to your smart home system, try the following:
- Check Wi-Fi Signal: Ensure the shades and hub are within range of your Wi-Fi network. Reposition the hub if necessary.
- Restart Devices: Power cycle the shades, hub, and router, and re-pair the shades with the hub if needed.
4.3. Uneven Movement or Tilting
If the shades are moving unevenly or tilting, check alignment and mounting hardware.
- Reposition the Brackets: Ensure the brackets are level and securely attached; adjust if needed.
- Balance the Shade: For motorized shades, make sure the weight is evenly distributed. Manually adjust to correct any tilting.
Why It Matters: Promptly addressing installation issues ensures that your shades operate smoothly and maintain their appearance.
Conclusion: Achieving a Seamless Installation and Setup
Installing and setting up home automation blinds and shades can seem complex, but with the right preparation and guidance, you can achieve a professional and functional result. From measuring and mounting to integrating with smart home systems, each step is essential for ensuring your smart shades work seamlessly and provide the comfort, convenience, and style you desire. For more information and a wide range of options, explore the selection of home automation blinds and shades available at Blinds Chalet to find the perfect fit for your smart home.
Related Articles
- Types of Window Blinds and Shades with Home Automation
- Introduction to Home Automation Window Treatments
- Customize Home Automation Window Coverings
- Troubleshooting and Maintenance for Home Automation Window Treatments
- Where to Buy Home Automation Window Treatments


