Lexi Westingate | Blinds Chalet Design Team


Updated: Jul 7 2026
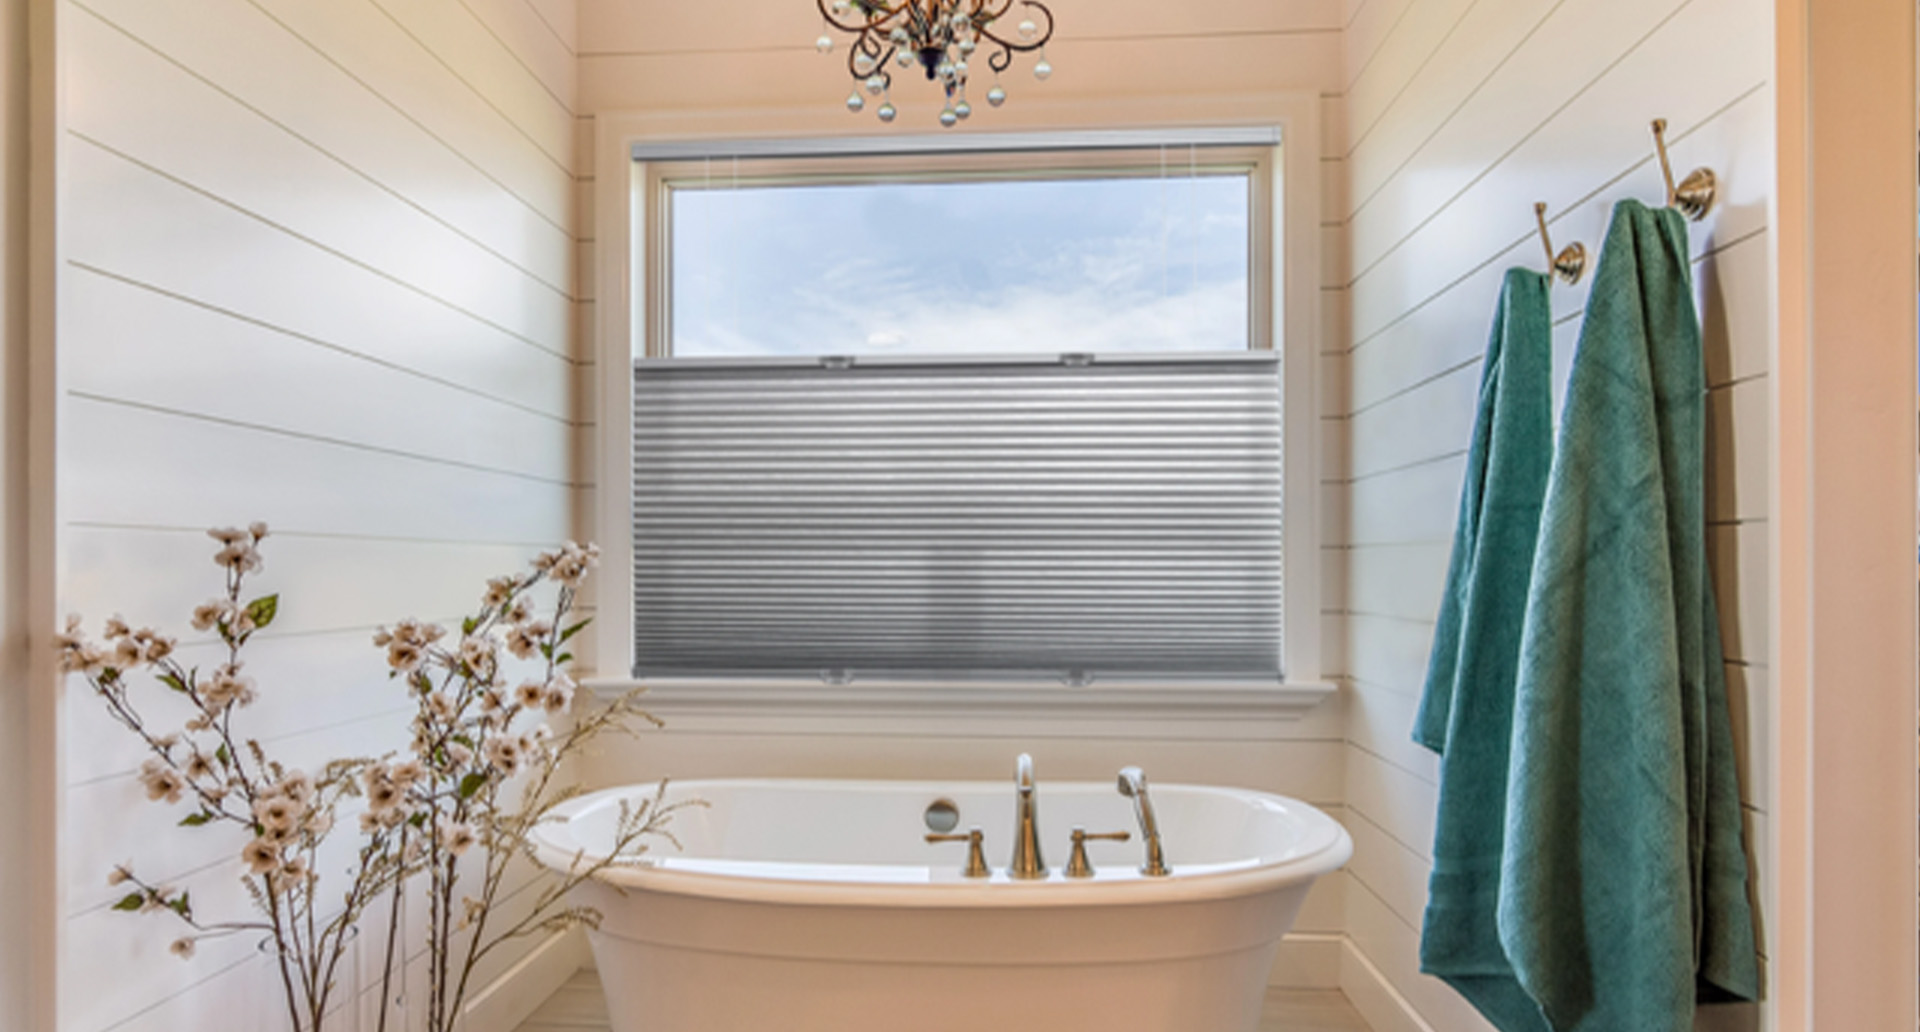
Top-down bottom-up shades are a versatile window treatment that allows you to control light and privacy by adjusting the shade from both the top and bottom. To ensure these shades operate smoothly and look great for years, proper installation and regular maintenance are essential. This guide will walk you through the steps for installing top-down bottom-up shades, share maintenance tips, and offer solutions for common issues like sagging.
Shop our complete line of top down bottom up window shades in various styles. Find the ideal solution with our selection of window shades for every décor and light control need.
1. Installation Guide for Top-Down Bottom-Up Shades
1.1. Preparing for Installation
Before you start installing your top-down bottom-up shades, gather the necessary tools and materials. You’ll need a tape measure, pencil, level, drill, screws, and mounting brackets.
- Measure Your Windows Accurately: Take precise measurements of your window frame to determine the correct size of the shade. For inside mounts, measure the inside of the window frame; for outside mounts, measure the area you wish to cover.
- Check the Components: Ensure all parts, including mounting brackets, screws, and the shade itself, are included and in good condition.
1.2. Installing the Brackets
Proper placement and alignment of the mounting brackets are crucial for the smooth operation of your shades.
- Mark the Bracket Locations: Hold the brackets against the window frame where you want to mount them (either inside or outside the frame) and mark the screw holes with a pencil.
- Align and Level the Brackets: Use a level to ensure the brackets are straight. If they’re uneven, the shades may tilt or operate incorrectly.
- Secure the Brackets: Drill pilot holes at the marked locations and attach the brackets using screws.
1.3. Attaching the Shade
Now that the brackets are in place, it’s time to attach the shade.
- Snap the Headrail into the Brackets: Lift the shade into the brackets and snap the headrail securely in place. Make sure it’s firmly attached and doesn’t wiggle.
- Test the Shade Operation: Raise and lower the shade from both the top and bottom to check for smooth operation. Adjust the brackets or shade position as needed.
2. Maintenance Tips for Top-Down Bottom-Up Shades
Regular maintenance is key to keeping your top-down bottom-up shades functioning well and looking their best. Here are some essential tips:
2.1. Regular Cleaning
Dust and dirt can accumulate on your shades over time. Keeping them clean will maintain their appearance and performance.
- Dusting: Use a soft, microfiber cloth or a feather duster to gently remove dust from the shade’s surface. Avoid abrasive materials that could damage the fabric.
- Vacuuming: For a more thorough cleaning, use a vacuum with a brush attachment to clear dust and debris from the fabric and headrail, especially effective for cellular and pleated shades.
2.2. Spot Cleaning for Stains
Stains can happen, but you can remove them with proper spot cleaning techniques.
- Use a Mild Detergent Solution: Mix a small amount of mild detergent with warm water. Dampen a clean cloth with this solution and gently blot the stained area. Avoid rubbing, as this can spread the stain or damage the fabric.
- Rinse and Dry: Use a clean, damp cloth to remove any soap residue and blot the area with a dry cloth. Allow the shade to air dry completely before using it again.
2.3. Adjusting the Shade to Correct Sagging
A common issue with top-down bottom-up shades, especially cordless models, is sagging or tilting. Here’s how to fix it:
- Level the Shade by Adjusting the Fabric: If one side of the shade sags, gently pull down on the opposite side to even it out. This redistributes the weight of the fabric.
- Check the Brackets and Mounting: Ensure that the brackets are level and securely attached. Misalignment can lead to tilting.
3. Advanced Maintenance: Addressing Specific Issues
Sometimes, your shades may need more than routine maintenance. Here are some common issues and how to address them:
3.1. Re-Tensioning Cordless Shades
Over time, the springs in cordless shades can lose tension, causing sagging.
- Re-Tension the Springs: Many cordless shades have a mechanism for adjusting the spring tension. Consult the manufacturer’s instructions for specific guidance on tightening the springs.
3.2. Replacing Damaged Components
If any components, such as lift cords or brackets, become damaged, it’s essential to replace them promptly.
- Order Replacement Parts: Contact the manufacturer for the correct replacement parts for your shade model.
- Follow Manufacturer Instructions: Carefully adhere to the provided instructions to replace damaged components, ensuring your shade continues to function as intended.
Conclusion: Keeping Your Top-Down Bottom-Up Shades in Top Condition
By following proper installation techniques and maintaining your top-down bottom-up shades regularly, you can ensure they remain functional and attractive for many years. This guide provides tips for installation, cleaning, and addressing common issues like sagging. For a wide selection of top-down bottom-up shades and expert advice, visit Blinds Chalet to find the perfect shades for your home.
Related Articles
- Guide to Top Down Bottom Up Shades
- Where to Buy Top Down Bottom Up Shades
- Types of Window Shades with Top Down Bottom Up
- Choosing a Top Down Bottom Up Shade
- Benefits of Top Down Bottom Up Window Shades
- Options for Top Down Bottom Up Shades


