Vertical Blinds - Installing Blinds
Dec 6 2009
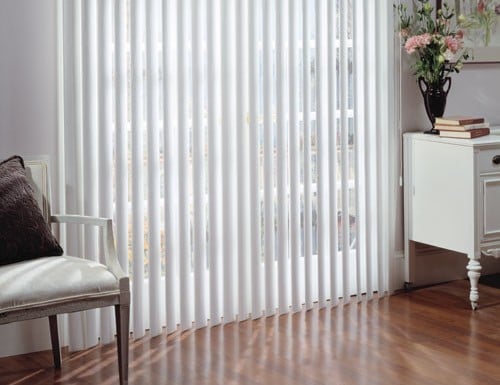
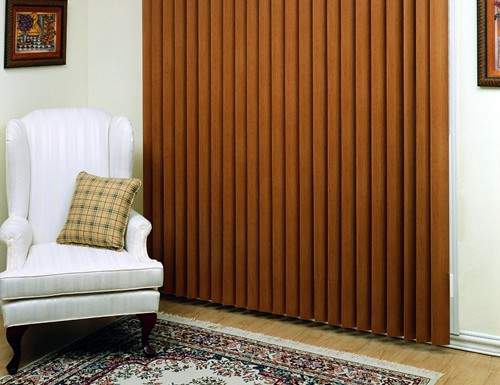
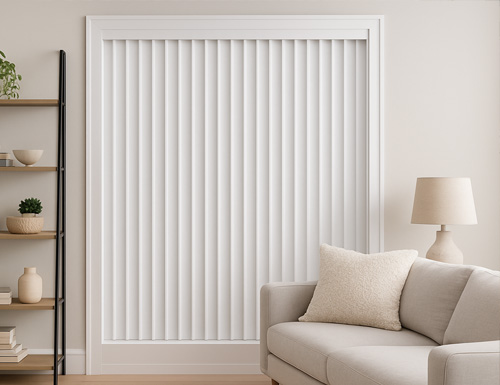
If you are planning on selling your home or if you just want to spruce it up, nothing adds to the look of a home more than blinds. Vertical blinds are simple to install and give your home a streamlined look.
1. Check the parts before beginning installation.
a. You will want all the supplies before beginning.
b. If all the parts are not there, either return the blinds or go to a local hardware store to buy the missing parts.
2. Measure the Window or Doorb. If all the parts are not there, either return the blinds or go to a local hardware store to buy the missing parts.
a. With the tape measure flush to the ground, measure upwards.
b. Then add ¼ inch to mark screw placement.
3. Install Bracketsb. Then add ¼ inch to mark screw placement.
a. The installation brackets need to be placed approximately 3 inches from the wall.
b. Screw the brackets in.
c. Additional brackets should be placed equal distances apart.
d. Tighten all screws when complete.
4. Placing the Control Chainb. Screw the brackets in.
c. Additional brackets should be placed equal distances apart.
d. Tighten all screws when complete.
a. Center the head rail to the mounting clips.
b. Insert front lip into the groove of the clips, turn the head until it clicks.
c. Repeat for each remaining clip.
5. Snap in Vanesb. Insert front lip into the groove of the clips, turn the head until it clicks.
c. Repeat for each remaining clip.
a. Open the blinds so they are even.
b. Snap in vanes so they all curve the same direction.
6. Attach Pulleya. Put the vertical cord loop through the top pulley.
b. Pull cord until the pulley becomes tight.
7. Cutting the Cordb. Pull cord until the pulley becomes tight.
a. Tie a knot in the cord.
b. Try to open and close the blinds. If it works then you can cut the cord below the knot.
b. Try to open and close the blinds. If it works then you can cut the cord below the knot.
Bookmark/Share this page:
 |
Related Products

Post a Comment


